 how-to
How to Prepare for a Home Energy Assessment?
Last Updated: October 25, 2026
Quick Summary
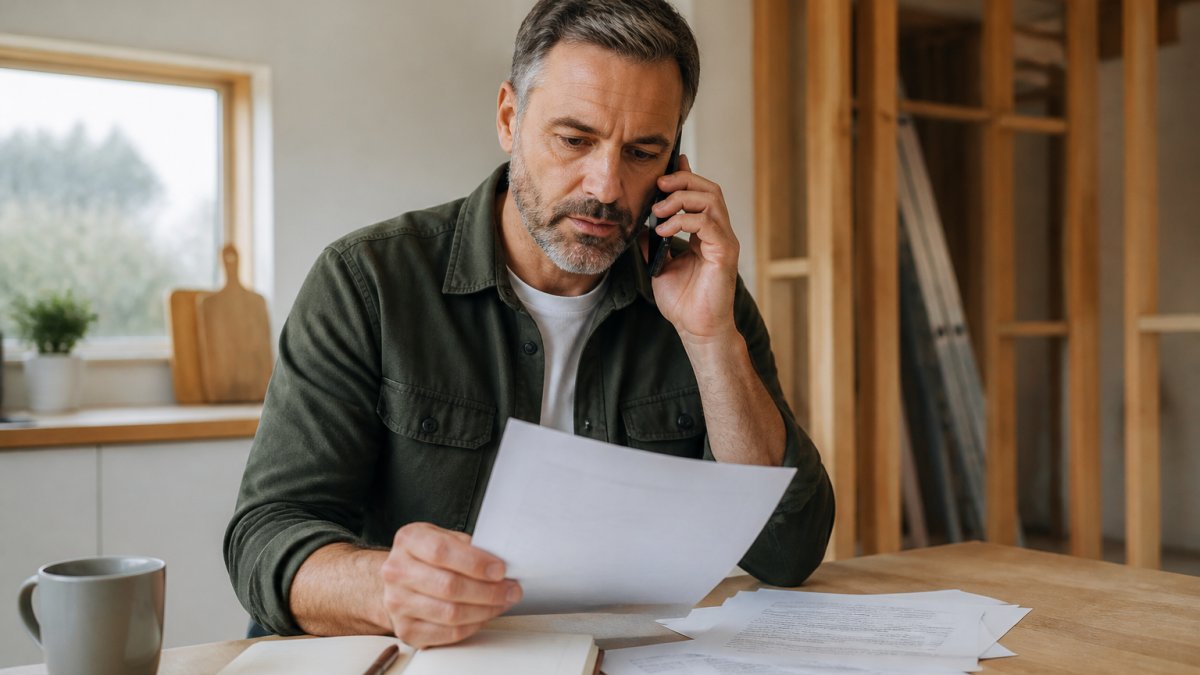
To prepare for a home energy assessment, gather 12 months of utility bills, construction and renovation records, HVAC and water heater documentation, and notes about comfort issues like drafts and temperature problems. Clear pathways to your attic, basement, and mechanical spaces, and plan for the visit to take two to four hours depending on your home's size and complexity.
- Collect 12 consecutive months of electricity and gas bills to establish your consumption baseline.
- Gather window, door, roof, and insulation replacement records to prevent duplicate recommendations.
- Document rooms that are too hot or cold and areas where you feel drafts to help the assessor target testing.
- Clear obstacles blocking access to your attic, basement, crawl space, and mechanical equipment.
- Plan for the assessment to last two to four hours, with technical testing taking 45 to 60 minutes.
Table of Contents
- What a Home Energy Assessment Involves
- Documents Needed for a Home Energy Assessment
- What to Expect During a Home Energy Assessment
- Home Energy Audit Checklist: Preparing Your Home
- How Long Does a Home Energy Assessment Take
- Understanding Your Assessment Report and Next Steps
- Frequently Asked Questions
What a Home Energy Assessment Involves
A home energy assessment is a professional evaluation of your home's energy consumption and efficiency.
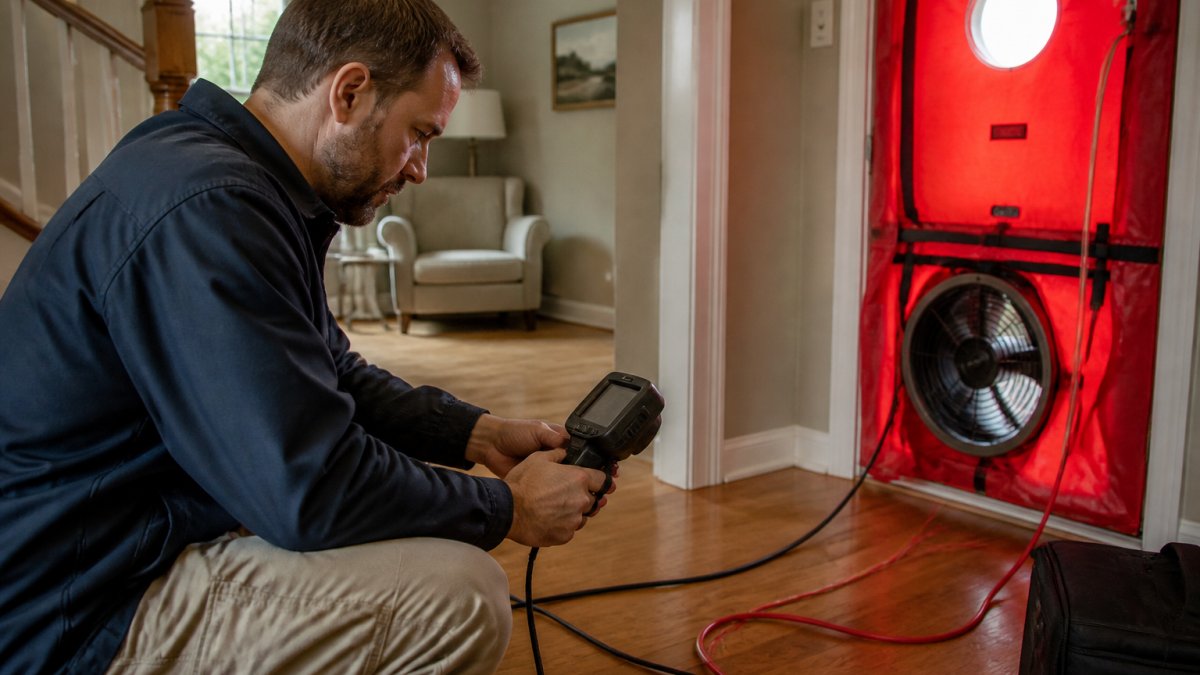
The assessor checks heating and cooling systems, insulation, air leaks, windows, doors, appliances, lighting, and ventilation, using thermal imaging cameras and blower door tests to measure where heat escapes.
A thorough assessment takes the guesswork out of energy upgrades: instead of random improvements, you know exactly where to invest for the best return.
The assessment typically covers these major areas:
- Heating and cooling system age and condition
- Insulation in attic, basement, and walls
- Air leaks around windows, doors, and penetrations
Documents Needed for a Home Energy Assessment
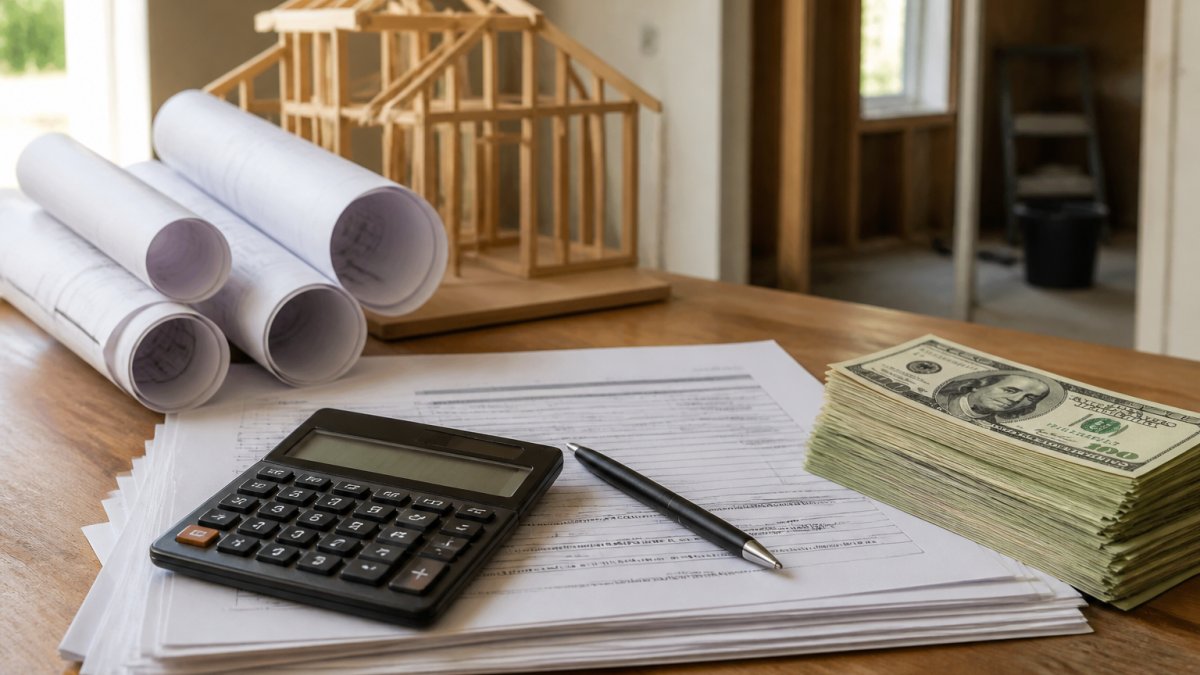
The documents you gather do two jobs: they let the assessor calibrate the model of your home against real consumption, and they prevent recommendations for work already done.
Utility bills: the 12-month baseline
Collect 12 consecutive months of electricity, natural gas, oil, or propane bills, both gas and electric if you have both. The assessor uses these to build a consumption baseline and spot seasonal anomalies; a winter spike that doesn't match the weather often points to a duct leak, a failing furnace, or a heat pump running in backup mode.
If you have two or three years of bills, bring them. Consumption creeping up while occupancy stayed flat is one of the most useful signals an assessor can get.
Construction and renovation records
Gather whatever you have on the home's history:
- Year of construction and any major additions, building code requirements for insulation and air sealing changed substantially over the decades, so the era of construction tells the assessor what to expect behind the walls.
- Permit records for additions, basement finishing, or structural work, if you can retrieve them from your municipality.
- Roof replacement records, a roof replacement often comes with new underlayment and sometimes upgraded attic ventilation, both of which affect moisture and insulation performance.
HVAC and water heater records
Have the make, model, and serial number for your furnace, heat pump, air conditioner, boiler, and water heater so the assessor can look up rated efficiency and age. Maintenance records matter too: an annually serviced furnace and one untouched for eight years may share nameplate efficiency but perform very differently.
Previous assessment reports
If your home was assessed before, by a utility program, a previous owner, or a contractor, bring that report. It gives the assessor a baseline, shows which recommendations were acted on, and prevents paying for a second assessment that repeats findings you already have.
Household and comfort information
This part is often skipped and often the most valuable. Note:
- Which rooms are consistently too hot or too cold, and at what time of day or season.
- Where you feel drafts, around windows, at exterior doors, along baseboards, at electrical outlets.
- Moisture and humidity issues, condensation on windows, musty smells in the basement, summer humidity that never seems to drop.
These observations give the assessor hypotheses to test with the blower door and thermal camera. "The north bedroom is always cold" sends them looking for a specific leak or insulation gap rather than scanning the whole envelope.
What to do if records are missing
Don't delay the assessment because you can't find everything. Missing records are common, especially in older homes; the report will simply rely more on direct measurement. Bring what you have and note what you couldn't find.
What to Expect During a Home Energy Assessment
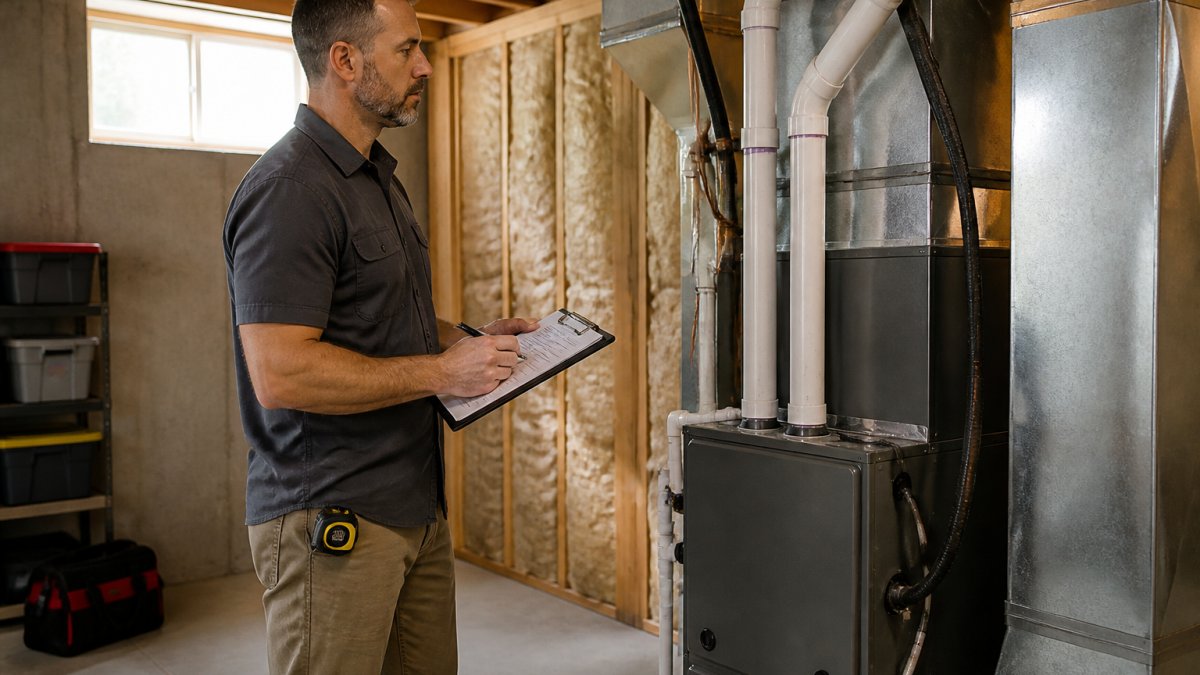
Expect the visit to last two to four hours, depending on your home's size and complexity. The assessor needs access to your attic, basement, crawl spaces, and mechanical rooms.
The assessor starts with a walk-through of the main living areas, noting window and door condition, visible drafts, and how your home is sealed, and asking about comfort issues.
Next comes the technical work.
The assessor inspects HVAC equipment, the water heater, and appliances for age, condition, and efficiency, and examines insulation levels in the attic, basement, and crawl space.
Finally, they review lighting and check thermostat type and settings, asking about daily routines, temperature habits, and seasonal room use.
What the assessment typically covers:
- Visual inspection of all rooms and mechanical spaces
- Blower door test to measure air leakage
- Thermal imaging to identify heat loss or gain
Home Energy Audit Checklist: Preparing Your Home
Preparing your home properly makes the assessment smoother and more accurate.
Room-by-Room Access and Safety
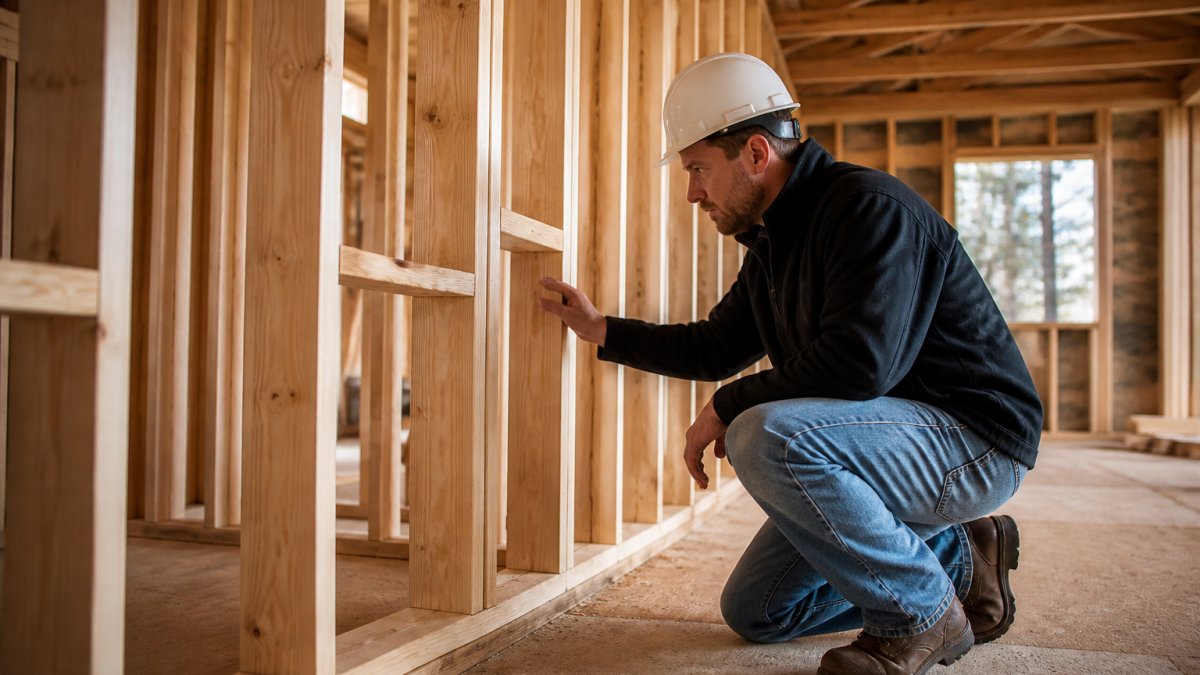
Clear pathways to your attic, basement, and crawl spaces, and remove boxes and clutter blocking access to walls, equipment, or windows.
Check attic access: pull-down ladders should operate smoothly and hatch openings should be clear so the assessor can move safely and inspect insulation.
Secure pets in a separate room during the visit.
Clear obstacles around the foundation and exterior, since the assessor may inspect exterior walls, utility penetrations, and roof condition.
Gathering Household Information
Write down information about your home before the assessment to help the assessor provide better recommendations.
Note any comfort issues: rooms that are always cold or hot, drafts near windows or doors, and humidity or dryness.
Record your utility usage. Beyond bringing bills, note whether costs have increased over time or spike in certain seasons; this context helps the assessor identify problem areas.
List any recent improvements. Have you added insulation, replaced windows, or sealed air leaks? When?
Information to prepare:
- Heating system type and age
- Cooling system type and age
- Water heater type and age
How Long Does a Home Energy Assessment Take
Plan for the assessment to take two to four hours, depending on your home's size, age, and complexity.
Smaller homes or newer construction typically take two to three hours. Larger homes or older properties with more systems to evaluate may take three to four hours. If your home has multiple stories, a basement, an attic, and a crawl space, allow extra time.
The assessor needs to be thorough. Rushing through the evaluation means missing details that could affect the recommendations.
Schedule the appointment when you can be home to answer questions about comfort issues, how you use your home, and any concerns.
Plan for this timeline:
- Initial walk-through: 20-30 minutes
- Technical testing (blower door, thermal imaging): 45-60 minutes
- Mechanical system inspection: 30-45 minutes
Weather affects timing.
A typical assessment follows this timeline across its major phases.
| Phase | Duration | Notes |
|---|---|---|
| Initial walk-through | 20-30 minutes | Visual inspection of rooms and systems |
| Technical testing | 45-60 minutes | Blower door test and thermal imaging |
| Mechanical system inspection | 30-45 minutes | HVAC, water heater, appliances |
| Attic and basement evaluation | 30-45 minutes | Insulation and foundation assessment |
| Final review and questions | 15-20 minutes | Summary and clarification |
| Total assessment | 2-4 hours | Larger or older homes take longer |
Understanding Your Assessment Report and Next Steps
The report is where most homeowners lose the value of the assessment. It arrives as a multi-page document with modeled savings, prioritized recommendations, and technical language, and the temptation is to skim the summary and call the first contractor who answers the phone. Reading it in a specific order and sequencing the work is what turns findings into actual savings.
Read the report in this order
- Health and safety findings first. Combustion safety issues, backdrafting risk, mold or moisture problems, and electrical hazards are flagged separately in most reports. These are not optional upgrades; they are conditions to address before any efficiency work. A blower door test that depressurizes a home with a backdrafting water heater can make an existing safety problem worse, so safety items come first regardless of payback.
- The building envelope next. Air sealing and insulation are usually the lowest-cost, highest-return measures, and they change the load that the heating and cooling system has to meet. Doing envelope work after replacing a furnace can mean the new equipment is oversized.
- Mechanical systems after the envelope. Once air leakage and insulation are addressed, the report's equipment recommendations are calibrated to the improved load. Replacing a furnace before air sealing often leads to a system that short-cycles and underperforms.
- Renewables and discretionary items last. Solar, battery storage, and major appliance replacements make more sense once the load has been reduced.
Translate the numbers before you commit
The report will show estimated annual savings for each measure, often in dollars and sometimes in gigajoules or kilowatt-hours. Learn how to evaluate whether an assessment's ROI justifies its cost. Treat those figures as modeled estimates, not guarantees, they rest on assumptions about weather, occupancy, and equipment performance that may not match your household.
A practical way to use the numbers:
- Compare savings to installed cost, not to the cost of the measure alone. A $3,000 insulation job that saves $400 a year has a simple payback of about seven and a half years; the same measure with a $1,500 incentive has a payback of under four years.
- Look at the interaction effects. Reports often list savings for each measure as if it were done alone. Air sealing and attic insulation, done together, typically save more than the sum of their individual estimates because they address the same heat loss path.
- Discount the top-line number. A common pattern is for modeled savings to run somewhat higher than realized savings, because models assume consistent thermostat settings and no open windows. Use the report's ranking to prioritize, not its dollar figures to budget.
Build a sequenced plan
A workable sequence for most homes looks like this:
- Phase 1, safety and air sealing. Address combustion safety, moisture, and the largest air leaks identified by the blower door test. This is usually the cheapest phase and the one that makes later work more effective.
- Phase 2, insulation. Attic first in most homes, then basement or crawl space, then walls if the report recommends it. Wall insulation is disruptive and expensive, so it usually comes after the easier measures.
- Phase 3, equipment. Furnace, heat pump, water heater, and ventilation upgrades, sized to the improved envelope.
Verify that a contractor's scope matches the report
When you request quotes, give each contractor the relevant pages of the report, not just a verbal description of the problem. Ask them to state, in writing, how their scope addresses each finding. A quote that proposes attic insulation without addressing the air sealing identified in the blower door test is only doing half the job.
Ask specifically:
- Which findings does this quote address, and which does it leave out?
- What air-sealing work is included before insulation is installed?
- What is the target R-value, and how will it be verified?
Incentives and program rules
Many utility and government programs require an assessment before work begins and a post-retrofit verification before rebates are paid. The rules vary by province and by program, and they change. Before signing a contract, confirm with the program administrator whether the assessment must precede the work, what documentation is required, and whether the contractor must be enrolled in the program.
When to bring in a contractor
Some measures, weatherstripping, outlet gaskets, LED replacement, thermostat programming, are reasonable do-it-yourself projects. Air sealing in attics and basements, insulation installation, and HVAC replacement are not. We help homeowners turn assessment reports into sequenced scopes of work, and we know which measures deliver real savings in this climate and which underperform in practice.
Frequently Asked Questions
What documents should I gather before my home energy assessment?
Collect recent utility bills (at least 12 months), your home's age and square footage, details about your heating and cooling system (brand, age, maintenance records), insulation levels if known, and any previous energy audits or renovation work. Also note whether your home has been weatherized or had upgrades done. Having this information ready helps the assessor understand your energy consumption patterns and identify where improvements will have the greatest impact.
How long does a home energy assessment take?
A typical professional home energy assessment takes 2 to 4 hours, depending on your home's size, complexity, and the depth of the evaluation. Larger homes or those with multiple heating zones may take longer. The assessor will inspect your heating and cooling systems, insulation, air sealing, windows, doors, appliances, lighting, and ventilation. Plan for the assessor to need access to your attic, basement, and all living spaces.
What areas of my home will the assessor inspect during a home energy assessment?
The assessor will evaluate your building envelope (walls, roof, foundation), attic and basement insulation, heating and cooling equipment, windows and doors, ventilation systems, appliances, lighting, thermostat settings, and any visible air leaks or drafts. They may use thermal imaging or blower door tests to identify energy waste. Ensure clear access to all areas, including crawl spaces and mechanical rooms, and remove any obstacles that might block inspection.
Can I do a home energy audit myself, or do I need a professional?
You can perform a basic DIY audit by inspecting visible insulation, checking for drafts around windows and doors, and reviewing your utility bills for patterns. However, a professional energy assessor has specialized equipment like thermal imaging cameras and blower door tests that identify hidden air leaks and efficiency problems you cannot see. A professional audit provides a detailed report with prioritized recommendations and may qualify you for government rebates or incentive programs.
A home energy assessment gives you a clear roadmap for improving your home's efficiency and comfort. The investment in the assessment itself pays back through smarter upgrade decisions. When you're ready to move forward with recommendations, work with a contractor who understands energy performance and can execute the work to professional standards. Learn how to prepare your home for a contractor walk-through so your project starts on the right foundation.