 how-to
How to Prepare Your Home for a Contractor Walk-Through
Table of Contents
- Before the Contractor Walk-Through: What to Do First
- Your Contractor Walk-Through Checklist: A Room-by-Room Guide
- How to Prepare for a Contractor Estimate That Holds Up
- Questions to Ask a Contractor Before Renovation Work Begins
- Home Renovation Project Scope Examples: Getting Specific
- Safety, Privacy, and Household Logistics During the Walk-Through
- Frequently Asked Questions
Last Updated: October 8, 2026
Before the Contractor Walk-Through: What to Do First
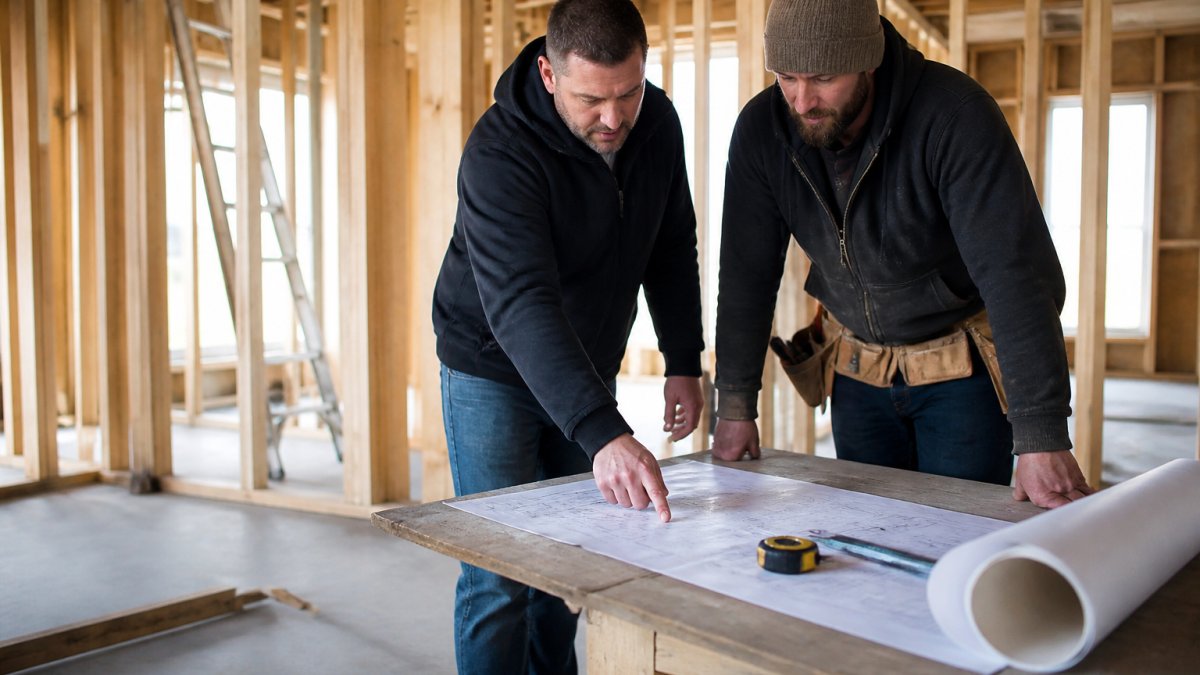
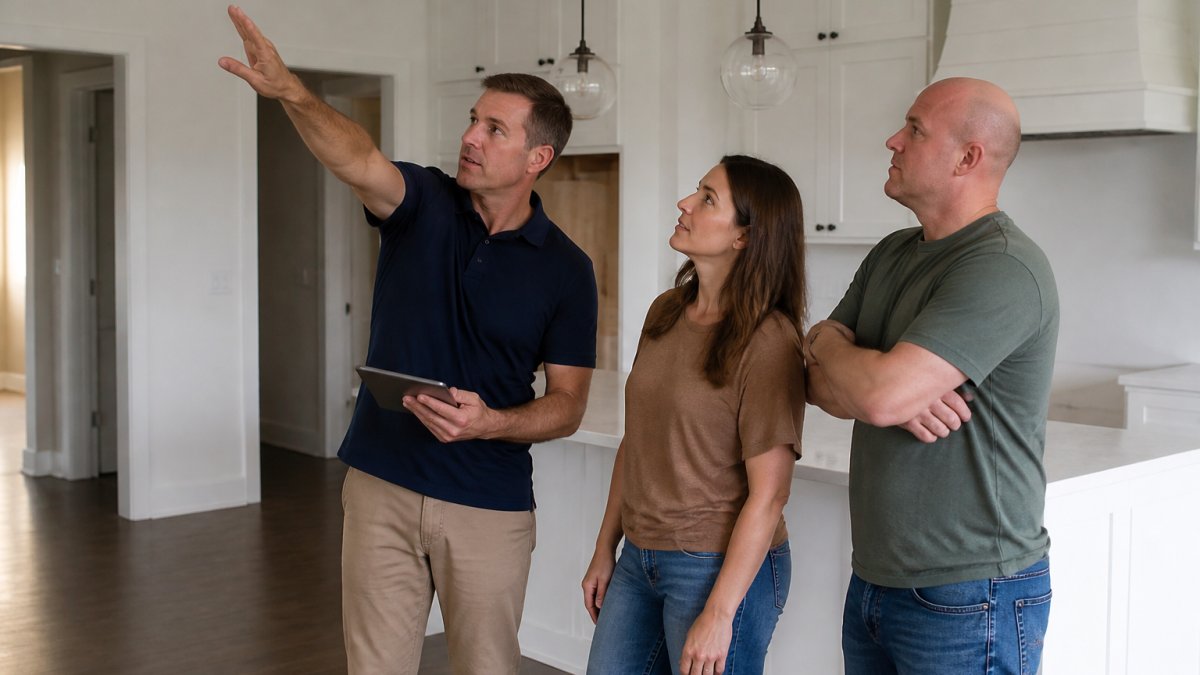
A contractor walk-through is a scheduled visit where a builder inspects your home, measures the space, discusses your goals, and gathers what they need to prepare an accurate estimate. Getting ready for it takes a few hours of work, and that work pays off in better numbers and fewer surprises.
This guide from Timeless General Contracting covers exactly how to prepare your home for a contractor walk-through, room by room. We have spent 25 years in this industry, and we can tell you: the homeowners who prepare well get sharper estimates and smoother projects.
Most people treat the first visit as a casual chat. It is not. It is the foundation of your entire renovation.
Here is what to handle before anyone walks through your door:
- Clear a path to the project area, including hallways and stairs
- Move vehicles so the contractor can park and unload
- Gather any drawings, inspiration photos, or wish lists
- Write down your budget range and your must-haves
- List your questions so you do not forget them mid-visit
The Canada Mortgage and Housing Corporation's renovation guidance recommends homeowners define their goals and budget before contacting contractors. That advice holds up.
Your Contractor Walk-Through Checklist: A Room-by-Room Guide
A contractor walk-through checklist keeps the visit focused and makes sure nothing gets missed. But the most useful version is not a list of rooms, it is a pre-visit agenda you run yourself the day before, so the contractor's hour on site is spent measuring and pricing instead of waiting for you to move a sofa.
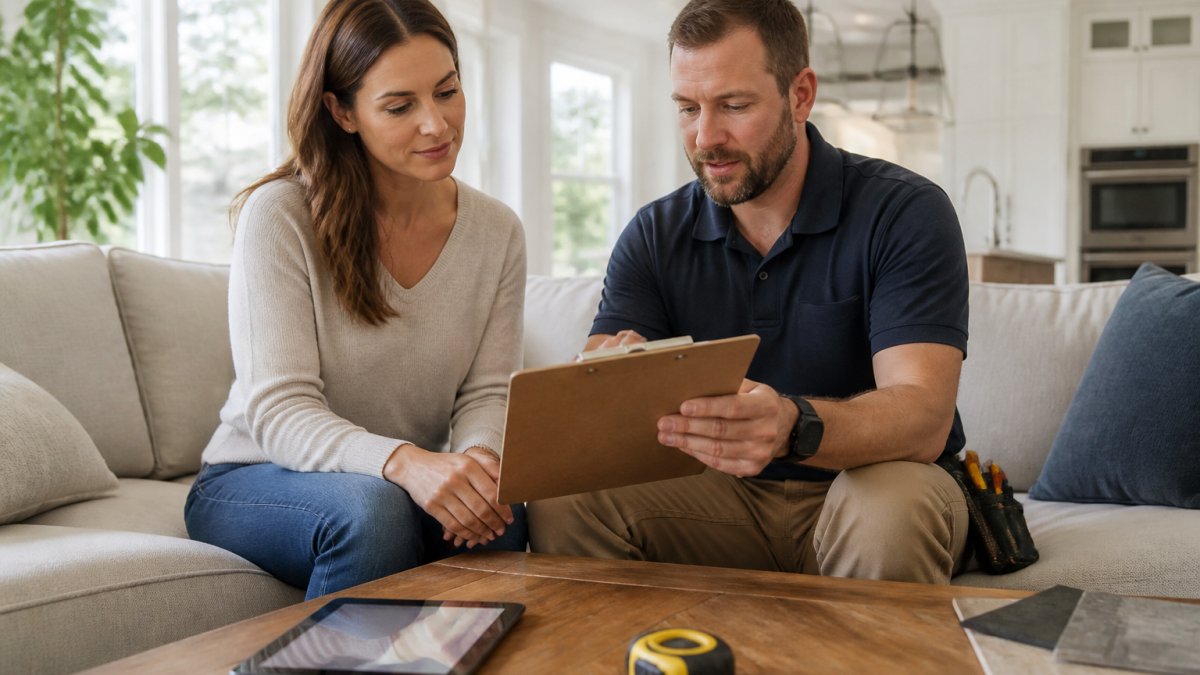
Run this agenda in order. It takes about 90 minutes in an average home.
1. Confirm the visit logistics (10 minutes)
- Text or email the contractor the parking spot, the entry door you want used, and any gate or garage code
- Note whether a bathroom will be available to the crew, and which one
- Confirm the start time and how long the visit is expected to run
- Put pets in a closed room or arrange for them to be out of the house
2. Walk the route the contractor will walk (20 minutes)
Start at the door the crew will actually use, not your front door. Walk the full path to the project area and back. Note:
- Door widths and any tight turns for material delivery
- Stairs, thresholds, and floor transitions
- Light fixtures or low beams a tall contractor will notice
- Anything you would trip on carrying a tape measure and a clipboard
3. Inspect each room on the project path (40 minutes)
Use this room-by-room list and mark anything you want the contractor to look at closely. A sticky note works fine.
- Entryway: door widths, flooring condition, closet space, coat hooks, and whether the door swings into the work zone
- Kitchen: appliances staying or going, cabinet condition, countertop material, sink and faucet age, outlet locations, and whether the range hood vents outside
- Living areas: windows, outlets, wall finishes, ceiling height, and any previous patch jobs
- Bathrooms: fixtures, ventilation, signs of moisture, tile condition, and whether the floor feels soft near the tub or shower
- Bedrooms: closet sizes, window placement, and whether furniture must be moved before work starts
- Basement: damp spots, cracks, insulation gaps, ceiling height, and whether the panel has spare breaker slots
- Exterior: siding, grading, deck condition, downspout discharge, and where a dumpster or material delivery could sit
4. Check utilities and access points (10 minutes)
- Locate the electrical panel, water shut-off, and gas meter
- Note any areas where the contractor will need to shut off power or water
- Confirm whether the attic or crawlspace has a clear access hatch
- Point out any known hazards, such as asbestos, old wiring, or a previous flood
5. Set the boundaries (10 minutes)
- Which rooms are off-limits
- Where the contractor may and may not store tools or materials
- Whether you want shoes off, floor protection, or a dust barrier at a specific doorway
- How you prefer to be contacted during the visit if you need to step away
This is also the moment to think about access. Which door will crews use? Where will materials land? Sort that out now, not on day one.
How to Prepare for a Contractor Estimate That Holds Up
Preparing for a contractor estimate means giving the builder enough detail to price the job accurately the first time. Vague requests produce vague numbers, and vague numbers change later.
Here is how to get an estimate you can trust:
- Write a clear project scope before the visit
- Decide what stays and what goes
- Set a realistic budget range
- Share your timeline and any hard deadlines
- Ask what the estimate includes and excludes
- Request the quote in writing
Get at least two or three bids so you can compare. But compare scope, not just price. A low bid that skips insulation or permits is not a bargain.
According to the Canadian Home Builders' Association, a detailed written contract protects both parties. Insist on one before work starts.
Questions to Ask a Contractor Before Renovation Work Begins
The questions you ask a contractor before renovation work begins tell you more than any brochure. Ask them during the walk-through, and write down the answers.
Start with these:
- Are you licensed and insured, and can I see proof?
- Who will be on site each day, and who is my main contact?
- How do you handle changes to the scope?
- What is your payment schedule?
- How do you communicate progress?
- Can you provide references from similar projects?
- What is your warranty on labour and materials?
That last set of answers matters most. A builder who tracks your project in real time will answer the communication question differently than one who does not.
At Timeless General Contracting, every client gets access to our Client Project Portal, which tracks the build in real time. It is core to how we work, not an add-on.
Home Renovation Project Scope Examples: Getting Specific
Clear home renovation project scope examples show you how detailed a scope should be. The more specific your scope, the fewer change orders you face later. But the scope is only half of what you bring to the walk-through. The other half is a document package the contractor can take away and price from.
Here is a weak scope versus a strong one:
| Weak Scope | Strong Scope | Why It Matters |
|---|---|---|
| "Update the kitchen" | Replace cabinets, countertops, sink, and backsplash; keep layout | Prevents pricing guesswork |
| "Finish the basement" | Frame, insulate, drywall, add subfloor, wire outlets, install flooring | Sets clear milestones |
| "New bathroom" | Replace tub with shower, retile, move vanity, add vent fan | Defines trades and timeline |
| "Fix the deck" | Replace boards, rails, and stairs; reseal framing | Avoids surprise add-ons |
Write your scope in plain language. List materials and product selections where you can. If you want quartz counters, say quartz, not "nice counters."
What to document and share before the visit
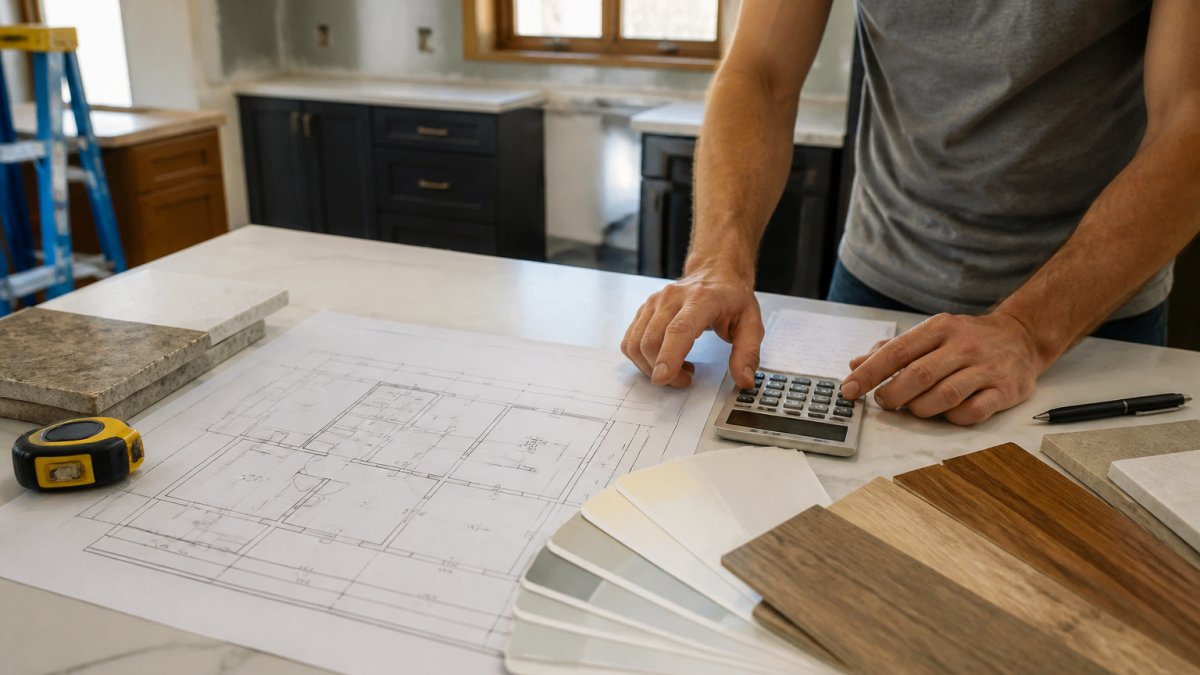
Most contractors arrive with a tape measure and a notepad. The homeowners who get the sharpest estimates hand over a small package instead. Assemble these five items before the walk-through:
- Measurements. Rough room dimensions, ceiling height, and the width of every doorway on the project path. A phone app or a tape measure is fine, the contractor will verify, but your numbers speed up the first pass.
- Photos. Wide shots of each room, plus close-ups of anything you want addressed: a cracked tile, a soft floor, a dated panel, a water stain. Date the photos so you can show change over time.
- Inspiration images. Save them in one folder or a shared album. Note what you like about each one, the layout, the color, the fixture, not just the overall look.
- Existing plans or drawings. If you have a survey, a previous permit drawing, or a floor plan from a past renovation, bring it. It saves the contractor from measuring what has already been documented.
- A prioritized list of concerns. Rank your wants into three tiers: must-have, would-like, and flexible. This is the single most useful page you can hand over, because it tells the contractor where to protect budget and where to offer options.
This is where a good contractor earns their keep. They will ask the follow-up questions that tighten your scope before it becomes a contract. If you want to compare bids fairly, give every contractor the same document package, same scope, same photos, same priorities, so the numbers you receive are actually comparable.
Safety, Privacy, and Household Logistics During the Walk-Through
Safety, privacy, and household logistics are easy to overlook, but they shape how smoothly the visit goes. Plan them before the contractor arrives.
A few basics:
- Keep children and pets in a quiet room away from the walk-through
- Store valuables, medications, and private documents out of sight
- Clear trip hazards in hallways and on stairs
- Note any accessibility needs, like wheelchair access or narrow doorways
- Tell the contractor about any known hazards, such as asbestos or old wiring
If you have special property conditions, say so up front. Older homes may have materials that need testing before demolition. That is a conversation for the walk-through, not the first day of work.
After the visit, expect a written estimate and a proposed schedule. Review both against your scope.
Then comes the real test: the final walkthrough before construction starts. Use blue tape to mark any punch list items, and keep a shared checklist so nothing slips.
Frequently Asked Questions
What should I prepare before a contractor walk-through?
Before a contractor walk-through, clear access to the project area, declutter and pack away personal items, and protect flooring with drop cloths or plastic sheeting. Gather any previous plans, permits, or inspection reports. Write down your goals, budget range, and questions. If you are preparing for a contractor estimate, having measurements and photos ready helps the contractor give you a more accurate quote.
What should I ask a contractor during a home walk-through?
Ask about their approach to the project scope, how they handle changes or surprises, and what the project timeline looks like. Request a written contract and check references and past work. For a renovation, ask about building materials, work methods, and how they will protect your home during construction.
How long does a contractor walk-through usually take?
A contractor walk-through typically takes 45 minutes to 2 hours, depending on the size and complexity of the project. For a simple renovation, it may be closer to 45 minutes. For a whole-home remodel or a complex energy-efficiency upgrade, expect a longer visit. The walk-through is your chance to discuss the project scope, timeline, and budget in detail, so do not rush it.
What should I do after a contractor walk-through?
After the walk-through, review your notes and compare the contractor's estimate with any others you received. Ask for a written contract that outlines the scope of work, materials, timeline, and payment schedule. Check references. If you are preparing for a contractor estimate, follow up with any additional information they requested, like photos or measurements, to keep the process moving.
A renovation only runs as well as its first walk-through. The homeowners who prepare get accurate estimates, clear scopes, and fewer surprises. At Timeless General Contracting, we bring 25 years of experience and Red Seal certification to every project, and our Client Project Portal keeps you informed from the first visit to the final walkthrough. Get started with Timeless General Contracting and walk into your renovation with a plan you can trust.