 how-to
Framing Inspection: What to Look For
Table of Contents
- What to Look for During Framing Inspection
- When to Schedule a Framing Inspection
- Framing Inspection Preparation
- Framing Inspection Checklist
- Common Framing Inspection Failures
- Documentation and Next Steps
- Frequently Asked Questions
Last Updated: October 20, 2026
What to Look for During Framing Inspection
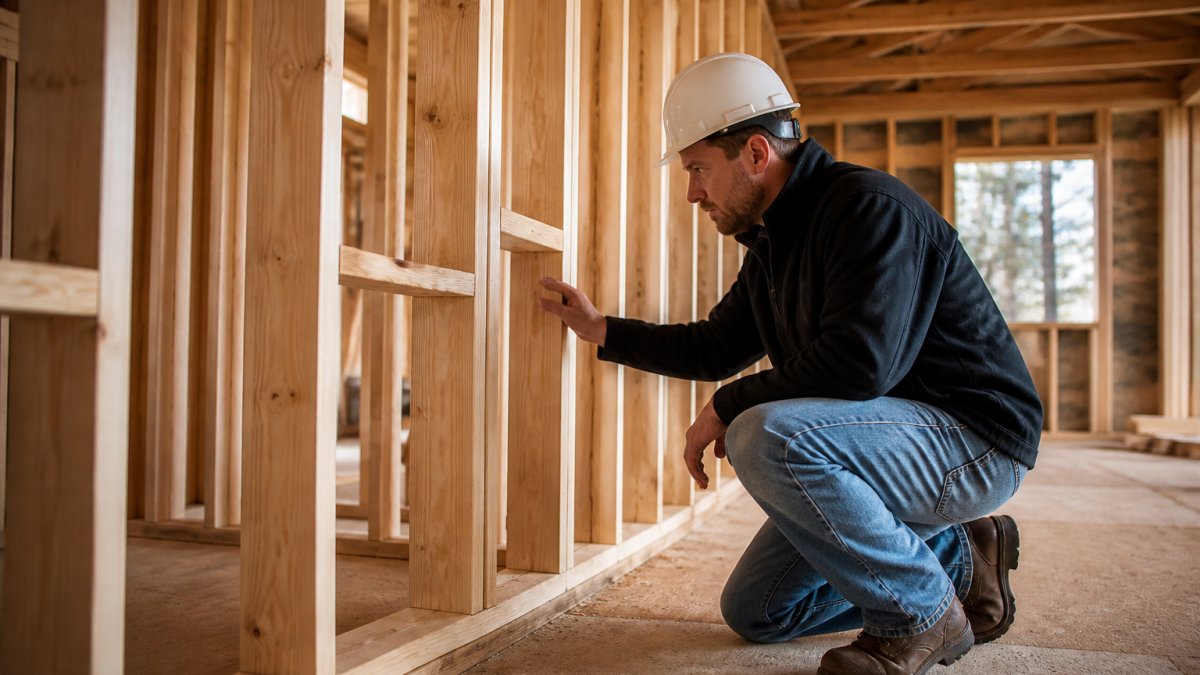
A framing inspection is a critical checkpoint where a qualified inspector examines the structural skeleton before walls, insulation, and finishes go in.
The frame carries every load in your building, transferring weight from the roof down through walls, beams, and columns to the foundation.
Catching framing defects early saves tens of thousands in repair costs down the road.
Why framing inspection matters
The framing stage is your last clear view of the structure before it gets hidden. Once drywall goes up, a wall that looks fine might hide improper spacing, missing fasteners, or inadequate bracing that will cause problems years later.
A framing inspection verifies that the work meets building codes for safety and durability, checking code compliance, structural integrity, and workmanship quality.
Common problems found during framing inspection include:
- Studs spaced too far apart
- Missing or inadequate fasteners and straps
- Improper bracing or lateral support
Structural integrity and load paths
A load path is the route weight travels through a building, from the roof down through walls and beams to the foundation. Every component must be properly sized, connected, and supported.
Like a chain, if one link is weak the entire chain fails. A framing inspection verifies that every link, beam to wall, wall to foundation, and every connection, is in place and working correctly.
The inspector checks:
- How beams rest on walls and columns
- How walls connect to the foundation
- How roof trusses connect to walls
When to Schedule a Framing Inspection
Schedule your framing inspection when the structural frame is complete but before any sheathing, insulation, or drywall goes up. If scheduled too early, the frame isn't complete; if too late, defects are hidden.
Inspection stages and timing
Most projects have multiple framing inspection stages. Knowing when each happens helps you plan ahead.
Stage 3: Roof framing. Once roof trusses or rafters are installed, an inspection checks that they are properly spaced, connected to the walls, and braced for lateral support.
Stage 4: Rough-in inspection. After framing is complete, this inspection looks at electrical wiring, plumbing, and mechanical systems roughed into the frame before they get covered.
Coordinating with building permits and inspectors
Building permits require inspections at specific stages, and you cannot proceed without passing each. Coordinate with your local building department to understand the schedule for your jurisdiction.
Contact the building inspector before framing begins. Confirm:
- What stages require inspection
- How much notice the inspector needs
- What documentation you need on site
Having a professional manage this coordination prevents delays. Timeless General Contracting knows the local requirements and schedules inspections so work flows smoothly.
Framing Inspection Preparation
Preparation ensures the inspection runs smoothly and catches all defects. An unprepared site wastes the inspector's time and yours.
Gather approved plans and documentation
Before framing begins, gather approved building plans, since the inspector compares the actual work to them. Bring architectural and structural drawings, the building permit and number, approved amendments or change orders, calculations for custom framing (headers, beams, trusses), and material specifications and certifications. Discrepancies between plans and the actual frame can halt the project.
Prepare your job site and checklist
A clean, organized job site helps the inspector work efficiently. Before the inspection, clear debris and obstructions, ensure adequate lighting, verify all framing work is complete for that stage, have a site representative available to answer questions, and prepare a list of questions or concerns. A framing inspection checklist helps you spot defects before the official inspector arrives.
Framing Inspection Checklist
Use this checklist to evaluate the framing on your project. Check each item and note any defects or concerns. Document findings with photos and measurements.
Wall framing and studs
Wall studs are the vertical members that support the weight above. They must be spaced correctly, aligned properly, and secured at top and bottom.
Check for:
- Stud spacing. Standard spacing is 400 millimeters on center (measured from the center of one stud to the center of the next). Some codes allow 600 millimeters on center in certain applications. Measure several sections to verify spacing is consistent.
- Bowed or crooked studs. Sight down the length of studs to check for bows. Minor bows are acceptable if they do not exceed 6 millimeters over 2.4 meters. Severely bowed studs should be replaced.
- King studs and trimmer studs. These are the studs on either side of a window or door opening. They must be properly installed and secured. King studs are the full-height studs. Trimmer studs are shortened studs that support the header.
| Wall Component | What to Check | Pass Criteria |
|---|---|---|
| Stud spacing | Distance between studs | 400 mm on center (or 600 mm if approved) |
| Stud alignment | Vertical plumb | Within 6 mm over 2.4 meters |
| Bowed studs | Horizontal deflection | Less than 6 mm over 2.4 meters |
| Top plate fastening | Nails or screws to studs | Every 400 mm minimum |
| Bracing | Diagonal or sheathing | Present per approved plans |
Floor joists and beams
Floor joists span between walls or beams and support the floor above. Beams support joists and transfer loads to columns or walls.
Check for:
- Joist spacing. Standard spacing is 400 millimeters on center. Some applications allow 600 millimeters. Verify spacing is consistent across the span.
- Joist size and species. Confirm joists match the approved plans. The size and wood species determine the joist's load capacity.
- Joist bearing. Joists must rest fully on their supports. They should have at least 38 millimeters of bearing length. Check that joists are not notched or cut in ways that reduce their strength.
Roof structure and trusses
Roof trusses or rafters support the roof sheathing and roofing material. They must be properly spaced, connected, and braced.
Check for:
- Truss spacing. Standard spacing is 600 millimeters on center, though some designs use 400 millimeters. Verify spacing matches the approved plans.
- Truss alignment. Trusses should be plumb and aligned in a straight line. Crooked or misaligned trusses indicate poor installation.
- Truss connections. Trusses must be fastened to the top plate of the walls below. Fasteners should be nails or bolts spaced per the plans (typically 600 millimeters on center). Metal connector plates at truss joints must be fully seated and secure.
Headers, lintels, and connectors
Headers are beams that span above window and door openings. Lintels are similar beams in masonry walls. Both must be properly sized and supported.
Check for:
- Header size. Headers must be sized to carry the load above the opening. A header that is too small will sag. Confirm the header size matches the approved plans and matches the opening width.
- Header support. Headers must rest fully on trimmer studs on each side. Trimmer studs must be continuous from the header down to the bottom plate. Check that headers are not sitting on drywall or partial studs.
- Header fastening. Headers must be fastened to trimmer studs with nails or bolts. Fasteners should be spaced per the plans.
Fire blocking and mechanical rough-in
Fire blocking is material installed in cavities to slow the spread of fire and smoke. Mechanical rough-in includes electrical, plumbing, and HVAC systems installed before walls are closed.
Check for:
- Fire blocking locations. Fire blocking is required at certain locations: between floor joists at the band board, at the top of walls, around penetrations, and in other cavities. Verify blocking is present where required by code.
- Fire blocking material. Blocking can be solid wood, mineral wool, or other approved materials. Check that the material used is code-approved.
- Electrical wiring. Wiring should be properly supported and not damaged. Wiring should not be pinched or run through holes that are too tight.
- Plumbing rough-in. Pipes should be properly supported and secured. Check that pipes are not kinked or damaged.
Common Framing Inspection Failures
Many common failures are preventable with proper planning and attention to detail.
Spacing and alignment issues
Studs spaced too far apart is one of the most common framing failures.
Bowed studs are another frequent issue. A stud that bows more than 6 millimeters over 2.4 meters cannot be straightened and must be replaced.
Misaligned walls are also common. Walls that are not plumb create problems for framing above and for finishing.
Missing or inadequate fasteners and straps
Fasteners hold the frame together. Missing fasteners are a serious defect. Count fasteners in several locations and compare to the approved plans.
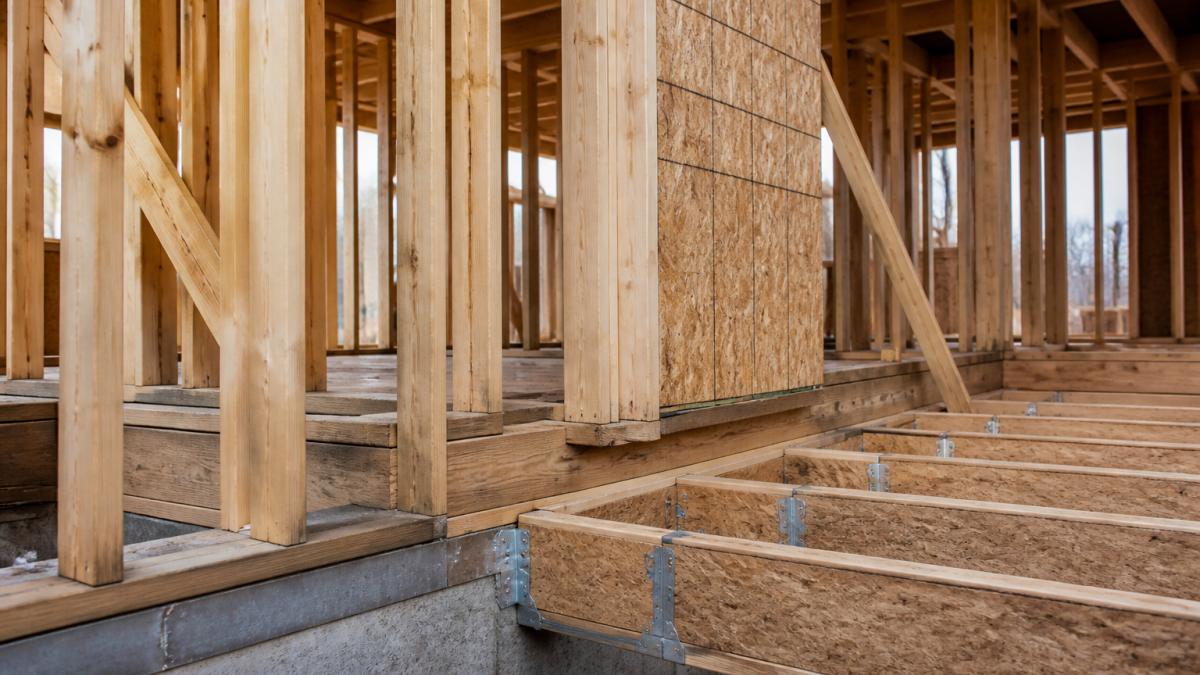
Metal straps and connectors transfer loads between components, and a missing one can cause the frame to fail under load. Inspect every connection point and verify connectors are present, the correct type, and fully fastened.
Structural defects and warning signs
Sagging joists or beams indicate undersizing or inadequate support.
Small checks (surface cracks) in framing lumber are normal, but large cracks or splits indicate structural damage and the lumber should be replaced.
Rot or insect damage weakens framing. Look for soft spots, discoloration, or evidence of termites or carpenter ants. Damaged wood must be replaced.
Documentation and Next Steps
Documenting your framing inspection creates a record of what was found and corrected, protecting you and supporting future claims or disputes.
Photo documentation and inspection findings
Photograph every section of the frame:
- Wall framing from multiple angles
- Floor joists and beam connections
- Roof trusses and bracing
- All defects or concerns
Label photos with location (e.g., "North wall, second floor") and date, and store them in a folder organized by inspection stage and area.
Write down the inspector's findings. Record:
- What was inspected
- What passed and what failed
- Specific defects and their locations
- What corrections are needed
Questions to ask your builder or inspector
Ask questions to understand what was found and what happens next:
- What defects were found and where?
- How serious are they, do they affect safety or structural integrity?
- What corrections are needed to pass inspection?
- Who is responsible for corrections (builder, subcontractor, or homeowner)?
Prioritizing defects and corrections
Prioritize defects this way:
Critical (safety risk). Missing bracing, inadequate connections, structural damage, or defects that could cause collapse. These must be corrected immediately and reinspected before work continues.
Major (code violation). Spacing issues, missing fasteners, inadequate headers, or other defects that violate building code.
Minor (quality concern). Bowed studs that are within limits, minor alignment issues, or cosmetic defects.
Timeless General Contracting coordinates with inspectors, manages corrections, and ensures reinspections happen on schedule, keeping you informed of your project's status throughout.
Frequently Asked Questions
What happens during a framing inspection?
A framing inspection verifies that structural components, wall studs, floor joists, roof trusses, beams, and connectors, are installed correctly according to approved plans and building code. The inspector checks spacing, alignment, bracing, fastener placement, fire blocking, and load paths. You can attend the inspection to ask questions and document findings with photos. The inspector issues a pass or notes corrections required before the next phase.
What are the most common framing inspection failures?
Common failures include incorrect stud spacing (not 400 or 600 millimeters on center), missing or loose fasteners and metal straps, inadequate bracing, bowed or damaged studs, improper header installation, missing fire blocking between floors, and incorrect anchorage of beams to columns. Many failures result from rushing installation or misreading approved plans. Prioritize safety-critical defects like load-bearing issues and fire separation over cosmetic concerns.
When should you schedule a framing inspection?
Schedule the framing inspection after structural framing is complete but before sheathing, insulation, and drywall are installed. This typically occurs 2-4 weeks into construction. Coordinate with your local building authority, many jurisdictions require an official inspection before you can proceed. Check your building permit for specific timing requirements. Early scheduling prevents costly rework and delays.
How do you prepare for a framing inspection?
Gather your approved building plans, building permit, and any structural engineering documents. Ensure the job site is clean and safe for the inspector to move through. Create a checklist covering wall studs, floor joists, roof trusses, headers, connectors, fasteners, fire blocking, and rough-in locations. Bring a camera or smartphone to document findings. Have questions ready about any areas you're unsure about.
Framing inspection is your best defense against hidden structural problems. Catching defects early saves money and prevents future headaches. Working with an experienced contractor who understands local building codes and inspection requirements ensures your project meets all standards and progresses smoothly. Get started with Timeless General Contracting and have confidence that your custom build or renovation is built to last.