 how-to
How to Seal Air Leaks in Older Homes
Table of Contents
- Why Air Sealing Matters in Older Homes
- Identifying Common Air Leak Locations
- Best Materials for Air Sealing Old Houses
- How to Seal Air Leaks: Step-by-Step Process
- Air Sealing Attic Bypasses: Critical Thermal Breaks
- Moisture Management and Ventilation Balance
- Hiring a Red Seal Contractor for Home Energy Retrofits
- Conclusion
Last Updated: August 21, 2026
Why Air Sealing Matters in Older Homes
Older homes have character and drafts. Most homes built before the 1980s have air leakage rates two to three times higher than modern construction, forcing heating and cooling systems to work overtime ([EXTERNAL_LINK: Natural Resources Canada | nrcan.gc.ca]). Air sealing is one of the highest-impact energy efficiency upgrades available, often delivering noticeable comfort improvements within days.
Air leaks create thermal bypass, warm air escaping in winter, cool air in summer, and allow moisture infiltration that damages structural integrity and promotes mold growth. The building envelope, the sealed boundary between conditioned and unconditioned space, is where energy efficiency actually happens.
Stack effect, the natural tendency for warm air to rise and escape through upper levels while cold air infiltrates at the base, drives much air movement in older homes. Sealing air leaks interrupts this cycle, stabilizes indoor temperatures, reduces HVAC strain, and often lowers energy costs by 10-20% ([EXTERNAL_LINK: Canada Green Building Council | cagbc.org]).
Identifying Common Air Leak Locations
Air leaks follow predictable paths where building materials meet, where penetrations break the air barrier, and where the envelope transitions between conditioned and unconditioned space.
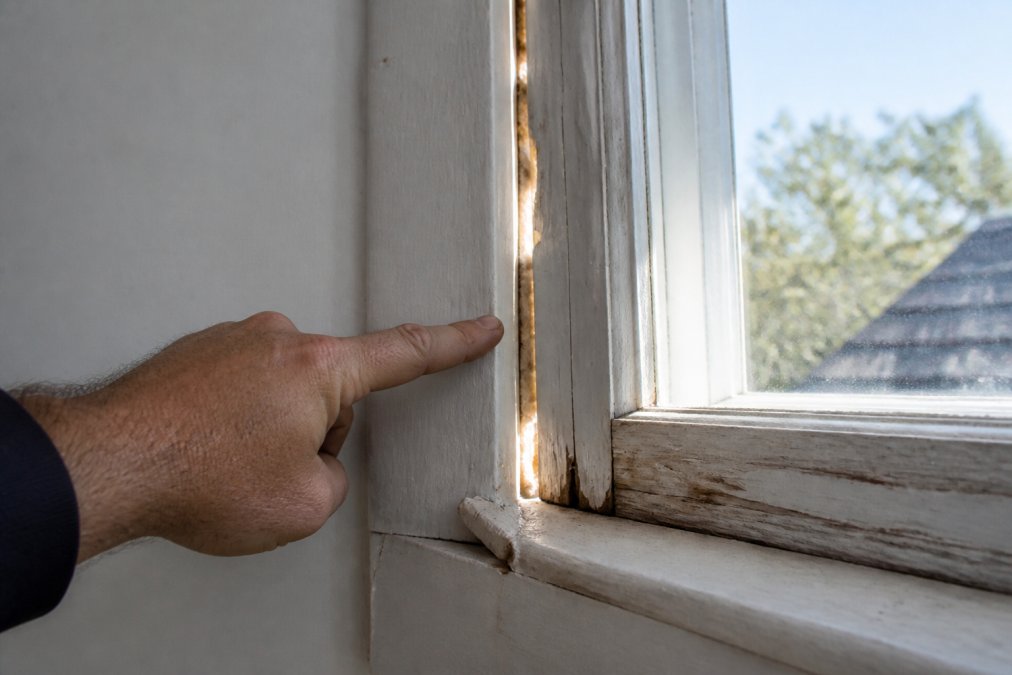
Window and door frames degrade over decades as caulk fails, weatherstripping wears out, and wood frames shift. Look for visible light around the perimeter or hold a lit incense stick near the frame, smoke will drift toward air leakage. This is one of the easiest locations to seal and delivers immediate comfort gains.
Attic bypasses are where most energy loss happens. These are holes and gaps where conditioned air escapes directly into the attic, bypassing insulation entirely. Common locations include gaps around electrical boxes and light fixtures, spaces where interior walls meet the top plate, openings around HVAC ducts and plumbing vents, and gaps at the rim joist. A single 2.5-centimeter hole in the attic ceiling can leak as much air as leaving a window open year-round ([EXTERNAL_LINK: Natural Resources Canada | nrcan.gc.ca]).
Basement and rim joist areas are the second-biggest infiltration source. The rim joist, the band of wood connecting the foundation to first-floor framing, is often poorly sealed in older homes. Cold air enters through foundation cracks, gaps around rim joists, and utility penetrations, creating cold floors and drafty basements in winter and humidity problems in summer.
Sill plates (the wooden base where walls sit on the foundation) frequently have gaps allowing air and moisture movement between foundation and living space. Penetrations for electrical outlets, plumbing, HVAC ducts, and exhaust fans all create leakage opportunities, often sealed haphazardly or left unsealed entirely.
Best Materials for Air Sealing Old Houses
Choosing the right sealant matters. Different materials perform differently depending on gap size, surface type, expected movement, and moisture exposure.
Caulk is the workhorse for small gaps (typically 0.6 centimeters or less). Acrylic latex caulk is paintable, low-odor, and easy to clean up. For moisture-prone areas (bathrooms, kitchens, basement rim joists), use 100% silicone caulk instead, it resists water penetration and lasts longer, though it's not paintable.
For gaps larger than 0.6 centimeters, use spray foam, expanding polyurethane that fills cavities and hardens into a solid, insulating barrier. Low-expansion foam is easier to control than high-expansion foam. After curing (typically 24 hours), trim excess with a utility knife and caulk over it for a finished look.
Rigid foam board (extruded polystyrene) works well for larger cavities, especially in basements and rim joist areas. It provides both air sealing and insulation while resisting moisture better than open-cell foam. Seal seams and edges with caulk or foam to prevent air bypass.
Acoustical sealant (paintable caulk) is thicker and more flexible than standard caulk, paintable like latex caulk, but more durable. It's useful for gaps around penetrations where some movement is expected.
Gaskets and weatherstripping seal moving joints like windows and doors. Replace deteriorated weatherstripping as part of any air sealing project, it's inexpensive and immediately effective.
Match the material to the gap size and exposure: small gaps get caulk, medium gaps (0.6 to 2.5 centimeters) get spray foam, large cavities get rigid foam board plus caulk at edges, and moisture-prone areas get silicone or closed-cell foam.
How to Seal Air Leaks: Step-by-Step Process
Total Time: 2-4 hours for a single room; full-house attic sealing typically requires 1-2 days Difficulty: Beginner to Intermediate (attic work requires comfort with heights and tight spaces)
Step 1: Locate and Mark Air Leaks
Start by identifying where air actually leaks. Visual inspection works, look for gaps, cracks, and obvious holes. A blower door test provides the definitive answer, depressurizing your home and using smoke or thermal imaging to reveal air leakage paths invisible to the eye.
Without a blower door test, use the incense stick method: light an incense stick and move it slowly around potential leak locations. Smoke will drift toward any air movement. Mark these spots with tape or a marker.
Common priority locations: attic (around light fixtures, electrical boxes, HVAC ducts, soffit vents, rim joist perimeter), basement (rim joist, foundation cracks, pipes and ducts, sump pump openings), main floors (window and door frames, electrical outlets, baseboards), and roof penetrations (vent pipes, chimney flashing, exhaust fans).
Step 2: Prepare the Area
Clean surfaces before applying sealant. Dust, dirt, and loose paint prevent caulk and foam from bonding properly. Use a putty knife to scrape away loose material, then wipe with a damp cloth and let dry completely.
For spray foam work, ensure temperature is within the product's recommended range (typically 10-30°C). Cold foam doesn't expand properly; hot foam expands too aggressively. Lay drop cloths or plastic sheeting indoors, spray foam is messy. In attics, wear a respirator rated for particulates and ensure adequate ventilation. If you suspect asbestos or lead paint, contact a professional.
Step 3: Apply Caulking or Sealant
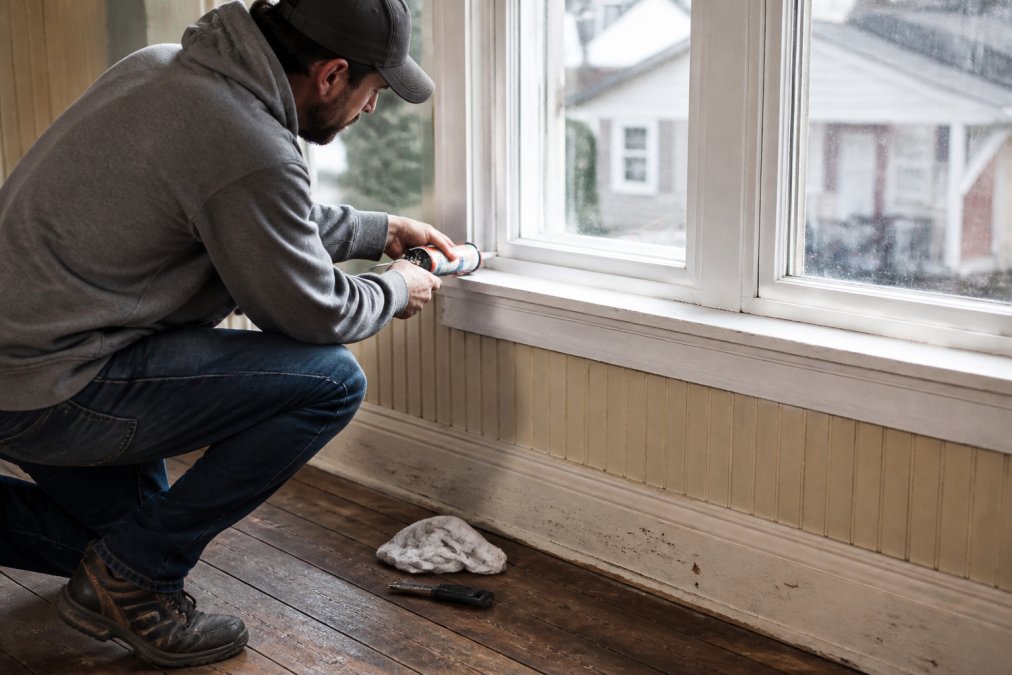
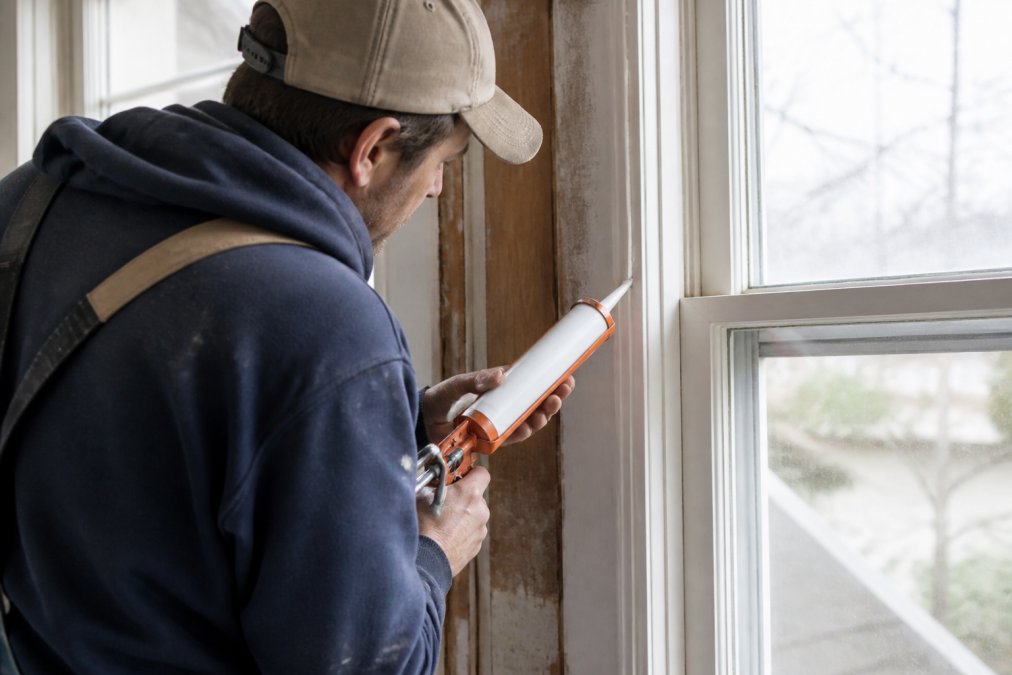
For gaps up to 0.6 centimeters, use a caulking gun with appropriate caulk (acrylic latex for dry areas, 100% silicone for wet areas). Cut the nozzle at a 45-degree angle to match gap width. Apply steady, continuous pressure as you move along the gap. Smooth immediately with a wet finger or caulk tool for better seal and appearance.
For gaps 0.6 to 2.5 centimeters, use low-expansion spray foam. Shake the can, apply a thin bead into the gap, let it expand (5-10 minutes), then trim excess with a utility knife. Caulk over foam edges to seal them completely, exposed foam degrades under UV light and allows air bypass.
For larger cavities or rim joist areas, install rigid foam board first. Cut to fit snugly, then seal all edges and seams with caulk or expanding foam. This two-step approach is more durable than foam alone.
Work methodically. Quality matters more than speed.
Step 4: Install Weatherstripping
Windows and doors move. Weatherstripping accommodates that movement while maintaining an air seal. Remove old, deteriorated weatherstripping by peeling it away. Clean any remaining adhesive residue with rubbing alcohol.
Measure the perimeter and purchase weatherstripping in appropriate width and thickness. Self-adhesive foam or rubber strips are easiest for DIY installation. Press firmly as you apply, ensuring good contact along the entire perimeter.
For doors, install a door sweep at the bottom to seal the gap between door and threshold. Allow adhesive-backed weatherstripping to set for 24 hours before repeated opening and closing.
Air Sealing Attic Bypasses: Critical Thermal Breaks
The attic is where most energy loss happens in older homes. Attic bypasses, gaps where conditioned air escapes directly into the attic without passing through insulation, are the single biggest infiltration source. Sealing them is non-negotiable for energy efficiency.
Electrical boxes and light fixtures create obvious holes in the ceiling. Recessed lights are particularly problematic, often installed with gaps allowing warm air to rise directly into the attic. Seal around electrical boxes with caulk or spray foam, then cover with rigid foam baffles if possible. For recessed lights, use IC-rated (insulation contact) fixtures or install foam caps around non-IC fixtures.
Gaps where interior walls meet the top plate are common in older homes. If there's a gap between drywall and the plate, or between insulation and the plate, air flows straight up into the attic. Seal these gaps from the attic side with expanding foam and caulk.
Plumbing vents and HVAC ducts penetrate the ceiling and often have gaps around them. Seal tightly with caulk or foam. The rim joist and soffit area where the roof meets walls is a major bypass location, often uninsulated and poorly sealed in older homes. Install rigid foam board or batts to fill the cavity, then seal all edges with caulk or expanding foam.
Work from the attic side. Identify every hole, gap, and penetration in the ceiling, then seal it using caulk for small gaps, spray foam for medium gaps, and rigid foam board for larger cavities. After sealing, you can add or improve attic insulation, the air barrier comes first, insulation comes second.
Moisture Management and Ventilation Balance
Sealing air leaks without managing moisture and ventilation can create problems. When you reduce air infiltration, you also reduce natural ventilation. Without adequate mechanical ventilation, moisture from cooking, bathing, and breathing accumulates indoors, potentially condensing on cold surfaces and promoting mold growth.
The solution is intentional ventilation. After sealing air leaks, ensure your home has exhaust fans in bathrooms and kitchens that vent to the outdoors (not into the attic), operated during and for 20-30 minutes after moisture-generating activities. In very tight homes or cold climates, consider a heat recovery ventilator (HRV) or energy recovery ventilator (ERV) that brings in fresh outdoor air while exhausting stale indoor air and recovering heat or cooling energy.
In the attic specifically, don't seal attic vents. Instead, seal bypasses (gaps between living space and unconditioned space), but leave soffit vents, gable vents, or ridge vents open so the attic can breathe. This prevents moisture accumulation in the attic, protecting roof framing and insulation.
The principle: seal the air barrier between living space and unconditioned space (attic, basement, crawlspace). Don't seal the attic itself, it needs to ventilate to the outdoors. Proper air sealing requires attention to both the air barrier and ventilation strategy.
Hiring a Red Seal Contractor for Home Energy Retrofits
Air sealing is straightforward in principle but requires skill in execution. Many homeowners handle windows and doors successfully, but attic work, basement rim joist sealing, and moisture management benefit from professional expertise.
A Red Seal certified contractor has completed an apprenticeship, passed a national examination, and demonstrated competency in building science and code compliance. For home energy retrofits, look for contractors certified in carpentry, insulation, or building envelope work. Timeless General Contracting holds Red Seal certification and brings 25 years of experience in high-performance renovations, understanding how air sealing, insulation, ventilation, and moisture management work together.
When hiring a contractor, ask about their approach to moisture and ventilation. Ask whether they recommend a blower door test before and after sealing to verify results. Ask how they handle attic ventilation and whether they understand stack effect and thermal bypass.
Timeless General Contracting uses a Client Project Portal to keep you informed throughout the work. You can track progress in real-time, see photos at each stage, and understand exactly what's being done and why. This transparency is especially valuable for complex work like air sealing.
Conclusion
Air sealing is the foundation of energy efficiency in older homes and one of the most cost-effective upgrades available. Materials are inexpensive, labor is manageable for DIY work in some areas, and results are immediate. It requires attention to detail and understanding how air, moisture, and ventilation interact.
If sealing yourself, start with the attic and basement for biggest impact. For large or complex scopes, or for professional assurance, Timeless General Contracting can help. With 25 years of high-performance renovation experience and Red Seal certification, we bring building science expertise to every project. Our Client Project Portal keeps you informed every step of the way. Get started with Timeless General Contracting and transform your home's comfort and efficiency.
Frequently Asked Questions
What are the most common areas for air leaks in older construction?
Older homes typically leak air around windows and doors, through attic bypasses (gaps where ducts and pipes penetrate the attic floor), at the sill plate where the foundation meets the frame, and in rim joists. Basement rim joists and band joists are particularly problematic because they're often poorly insulated. The building envelope in older homes was rarely designed with air sealing in mind, so thermal bypasses occur wherever materials meet or shift over time.
What is the best way to seal air leaks in older homes?
The best approach combines identifying leaks with the right materials for each location. Use caulk for small gaps around windows and doors, spray foam for larger cavities, and weatherstripping for movable joints. For attic bypasses, use rigid foam board or acoustical sealant to block thermal bypasses. The key is addressing air infiltration systematically rather than patching randomly. Many homeowners benefit from hiring a Red Seal contractor to perform blower door testing first, which identifies the largest leaks so you can prioritize work effectively.
Can you air seal an attic yourself or should you hire a professional?
Small air sealing projects like caulking window frames or weatherstripping doors are manageable DIY tasks. However, attic work involves safety risks and building science complexity. Attic bypasses require understanding vapor barriers and ventilation balance to avoid moisture problems. If your home has structural concerns, historic features, or complex HVAC systems, hiring a Red Seal contractor ensures the work meets building code and prevents unintended consequences like condensation or mold. A professional can also use blower door testing to verify that your sealing improves performance without compromising indoor air quality.
How does air sealing affect the ventilation requirements of an older home?
Air sealing reduces uncontrolled air infiltration, but it can create a tighter building envelope that needs planned ventilation. Older homes often relied on natural air leakage for ventilation, so sealing them too aggressively without adding controlled ventilation can trap moisture and reduce indoor air quality. This is why moisture management and ventilation balance matter: you need to maintain adequate fresh air exchange while eliminating drafts. Building science principles guide this balance, a professional can assess whether your home needs mechanical ventilation or improved natural draft after sealing.
This article was written using GrandRanker