 how-to
How to Estimate Custom Home Construction Costs in 2026
Last Updated: November 4, 2026
Quick Summary
To estimate custom home construction costs, define your project scope in writing, then multiply finished square footage by a base rate for your finish level and adjust for site conditions and region. Build a line-item estimate that separates hard costs from soft costs, and hold a contingency sized to your uncertainty.
- Write a project scope covering square footage, storeys, finish level, foundation, and site conditions before pricing anything.
- Cost per square foot falls as home size rises because fixed costs spread across more square footage.
- Soft costs like design, permits, utility hookups, and builder overhead are the most commonly skipped items.
- Size contingency from the gap between your expected and high scenarios, and keep owner's contingency separate.
- Compare builder quotes line by line for soft costs, allowances, exclusions, and how overhead and profit are shown.
Table of Contents
- Step 1: Define the Project Scope Before You Price Anything
- Step 2: Use Custom Home Construction Cost Per Square Foot as a Starting Point
- Step 3: Separate Hard Construction Costs From Soft Costs
- Step 4: Build a Line-Item Estimate With a Construction Budget Breakdown Template
- Step 5: Set a Home Building Contingency Fund Percentage for Surprises
- Step 6: Compare Builder Estimates and Contracts Line by Line
- Step 7: Control Costs During the Build With Value Engineering
- Book a Pre-Construction Estimate Review With Timeless General Contracting
- Frequently Asked Questions
Step 1: Define the Project Scope Before You Price Anything
Most cost estimates fail at the starting line, not the finish. If you price before you define, you are guessing.
A project scope is a written description of everything the build includes, from the footprint and floor plan to the finish level and site work. Without it, no number means anything.
Start with these basics:
- Total finished square footage and number of storeys
- Bedrooms, bathrooms, and any special rooms
- Garage size and driveway length
- Foundation type and basement plan
- Finish level: basic, mid-range, or high-end
- Site address and known site conditions
Write it down. If you need a structured way to capture it, our guide on how to write a professional renovation scope of work walks through the format step by step.
Step 2: Use Custom Home Construction Cost Per Square Foot as a Starting Point
The custom home construction cost per square foot is a rough benchmark, not a final price. It gives you a sanity check before you commit to a budget range, and it is the number every builder, lender, and insurer will ask about first.
Here is the mechanism builders actually use. You multiply your finished square footage by a base rate that reflects your finish level, then apply a series of adjustments for site, region, and design complexity. The result is a low-end and high-end band, not a single figure.
Why Gross Floor Area and Finish Level Change the Number
Gross floor area drives the base cost. A larger footprint means more framing, more foundation, more roofing, and more labour hours. But the relationship is not linear.
Finish level then multiplies the base. A basic build and a high-end build can share the same floor plan and land, yet sit far apart on price. The gap comes from cabinetry, countertops, flooring, plumbing fixtures, lighting, appliances, and the labour hours those selections demand.
Adjusting for Site Conditions and Regional Cost Differences
Site conditions and location move the number more than most people expect. A flat, serviced lot is cheaper to build on than a sloping site that needs extra site preparation, engineering, or utility connections. Regional cost differences in labour and materials also shift the rate.
Build the adjustment into your worksheet rather than eyeballing it. Start with a base rate for your finish level, then apply explicit adders or deductions for each condition you can document:
- Slope: A walkout or hillside lot usually adds foundation, drainage, and excavation cost compared with a flat lot.
- Soil: Poor bearing capacity may require engineered footings, deeper foundations, or soil replacement.
- Access: A narrow or long driveway raises the cost of delivering materials and moving equipment.
- Servicing: Distance to municipal water, sewer, gas, and hydro connections changes the utility line item significantly.
- Demolition: Removing an existing structure adds cost that a bare lot does not carry.
- Region: Labour rates and material availability vary by market, so a rate pulled from a national average needs a local multiplier.
Record each adjustment with a note explaining why you applied it. That note is what turns a benchmark into an estimate you can defend to a lender or a builder.
Turning the Benchmark Into a Range You Can Test
Once you have a base rate and your adjustments, express the result as three scenarios: low, expected, and high. The low scenario assumes favorable site conditions and no surprises. The expected scenario reflects what you actually know about the site and your selections. The high scenario assumes the risks you have identified materialize. Carry all three forward into your line-item estimate in Step 4, and use the spread between them to size your contingency in Step 5.
Step 3: Separate Hard Construction Costs From Soft Costs
Hard construction costs cover the physical build: framing, foundation, roofing, windows, mechanical, electrical, plumbing, and finishes. Soft costs cover everything else that makes the build possible.
Keeping these two buckets apart is where most estimates go wrong. People budget for the house and forget the paperwork and fees around it.
The Soft Costs Most Estimates Leave Out
Watch out: skipping soft costs is the single most common reason a budget blows up before ground is even broken. A complete soft-cost list includes:
- Architectural design and engineering
- Permits and inspections
- Survey and site testing
- Utility connections and hookups
- Legal and financing fees
- Builder overhead and profit
- Insurance and project management
Add these before you compare any builder's number. A quote that leaves them out is not cheaper. It is incomplete.
Step 4: Build a Line-Item Estimate With a Construction Budget Breakdown Template
A line-item estimate lists every task and material with its own cost, instead of one lump sum. This is the heart of any construction budget breakdown template.
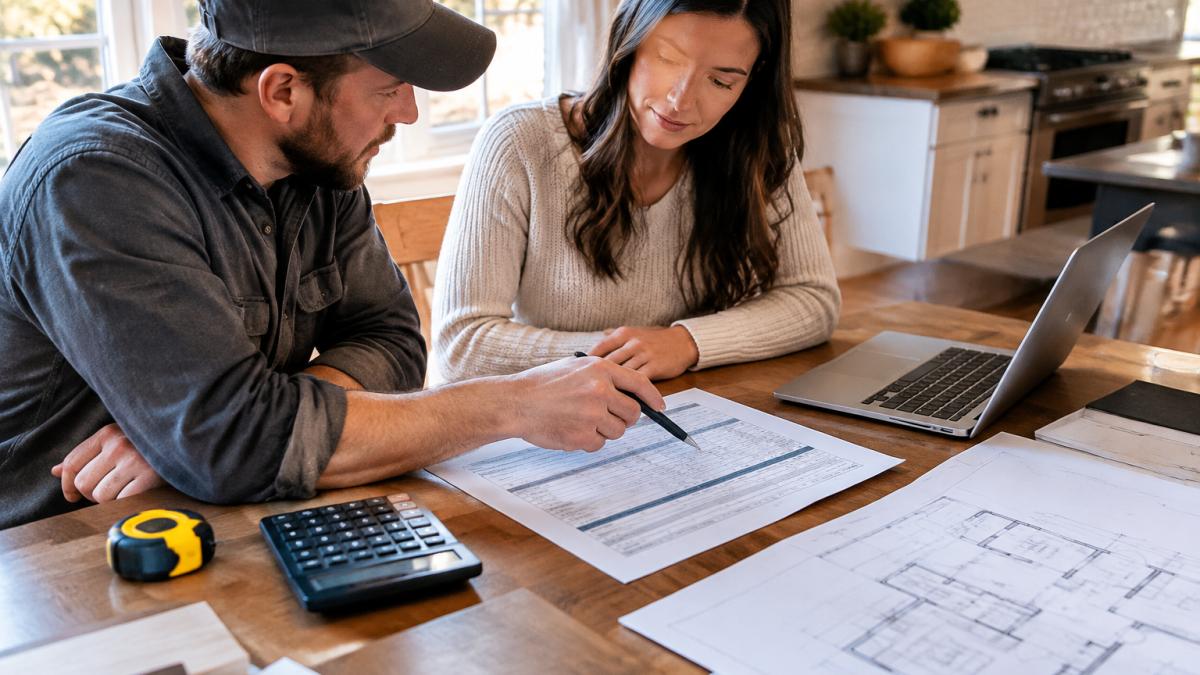
A simple template has four columns:
| Line Item | Low Estimate | High Estimate | Notes |
|---|---|---|---|
| Foundation | Type and site conditions | ||
| Framing and labour | Square footage and complexity | ||
| Roofing and windows | Material grade | ||
| Mechanical, electrical, plumbing | Fixtures and systems | ||
| Finishes | Finish level | ||
| Soft costs | Permits, design, fees | ||
| Contingency | See Step 5 |
Fill each row with a low and high figure. The gap between them shows your uncertainty. For a practical system to track this budget as the build moves, see our guide on simplifying custom home budget tracking.
Step 5: Set a Home Building Contingency Fund Percentage for Surprises
A home building contingency fund percentage is the buffer you hold back for the unknown. It is not padding. It is protection, and it should be sized to the uncertainty in your estimate rather than picked from habit.
Contingency can work well as a tiered allowance that shrinks as the project becomes more defined. Early in the process, when you have a scope but no drawings, uncertainty is high and the buffer should be larger.
Sizing Contingency to Your Estimate's Uncertainty
Use the low, expected, and high scenarios from your line-item estimate to set the buffer. The gap between expected and high is a reasonable starting point for the contingency you need to cover identified risks.
A practical pattern is to hold two buckets:
- Design and construction contingency: Covers known-unknowns such as site conditions, material availability, and minor design changes. Size it from the spread in your line items.
- Owner's contingency: Covers changes you choose to make during the build, such as upgraded finishes or added features. Keep it separate so you can see when you are spending on preference rather than necessity.
Keep both buckets outside your line items so you can see when you are drawing on them. If contingency is buried inside a line item, you lose the signal that the project is drifting.
What Actually Eats a Contingency Fund
Hidden site work is the most common drain. Rock encountered during excavation, poor soil requiring engineered footings, or drainage problems discovered after grading starts can consume a buffer quickly. Material price jumps and design changes mid-build are the next most common.
Watch out: a contingency that is set once and never revisited becomes either too small to protect you or too large to be credible to a lender. Review it at each design milestone and adjust it to match the risks that remain.
When to Draw on Contingency
Draw on contingency only for costs that were not in the original scope or that exceed the documented allowance. Require a written change order showing the cost impact before the work proceeds. That discipline keeps the buffer intact for genuine surprises and gives you a clean record of why the budget moved. To see which costs typically drain it, read our breakdown of common hidden costs in home renovation projects.
Step 6: Compare Builder Estimates and Contracts Line by Line
Two quotes can look similar at the bottom and differ wildly inside. Compare them line by line, not by the total.
Check for these:
- Does each quote include soft costs, or leave them out?
- Are allowances realistic or set low to win the job?
- Is the contingency included or separate?
- What is excluded in writing?
- How is overhead and profit shown?
A lower total often means missing scope, not a better deal. For a repeatable method to line up competing bids, use our guide on how to compare renovation quotes from contractors.
Step 7: Control Costs During the Build With Value Engineering
Value engineering means finding the same result for less money without cutting quality where it counts. It is how you protect the budget once construction starts.
Try these moves:
- Choose standard sizes over custom where it does not show
- Swap expensive finishes for durable mid-range options in low-traffic areas
- Lock material orders early to avoid price escalation
- Approve changes in writing, with the cost impact shown first
Scope creep is the quiet budget killer. Every small "while we're at it" adds up. Our step-by-step guide on preventing renovation scope creep shows how to stop it before it erodes your numbers.
Book a Pre-Construction Estimate Review With Timeless General Contracting
Estimating a custom build is a process, not a single number. Scope it, benchmark it, split hard and soft costs, build line items, hold a contingency, compare bids, and control the build.
At Timeless General Contracting, we bring 25 years of industry experience and Red Seal certification to custom home projects. Our Client Project Portal lets you track your build in real time. We focus on transparent project management.
Get started with Timeless General Contracting and turn your estimate into a build you can actually track.
Frequently Asked Questions
What is the average cost per square foot to build a custom home?
There is no single national figure because custom home construction cost per square foot swings with finish level, design complexity, site conditions, and regional labor rates. A modest build with standard finishes sits at the low end of the range, while high-performance envelopes and premium materials push it toward the high end. Treat any quoted rate as a starting assumption only, then confirm it against a line-item estimate for your actual floor plan and site. Ask your builder what is and is not included in their per-square-foot figure before you compare it to another quote.
What percentage should I hold back as a contingency fund?
A contingency allowance is usually sized as a percentage of hard construction costs, with larger allowances for complex sites, extensive energy-efficiency upgrades, or older existing structures. The fund covers unknowns such as unsuitable soil, hidden structural issues, or price escalation on materials. Keep it separate from your upgrade budget so finish selections do not quietly consume money you set aside for surprises.
What is the difference between a rough estimate and a detailed construction quote?
A rough estimate is a budget range built from square footage and assumptions, useful for early feasibility but not for signing anything. A detailed construction quote is a line-item document listing materials, labor, permits, engineering, utility connections, and allowances, with clear exclusions. Ask for the assumptions behind every number. A quote that looks cheaper often excludes soft costs or carries low allowances that will be topped up later. Compare bids line by line, not on the bottom-line total alone.
How do I keep costs from spiraling once construction starts?
Lock the scope and finish level before contracts are signed, then manage changes through a written change-order process with pricing attached. Review the budget against actual costs at regular intervals, and use value engineering, swapping materials or details that deliver the same performance for less, before cutting quality. Real-time project tracking through the Client Project Portal makes this easier because you can follow cost and schedule updates as they happen. Ask any builder how they document and price changes before you hire them.