 how-to
How to Create a Home Renovation Timeline That Works
Table of Contents
- Step 1: Define Your Renovation Goals and Project Scope
- Step 2: Set a Realistic Budget and Cost Estimate
- Step 3: Plan the Design and Select Materials
- Step 4: Research and Hire Contractors and Professionals
- Step 5: Understand Permits, Approvals, and Building Codes
- Step 6: Break the Renovation Into Phases and Sequence Tasks
- The Correct Order of Renovation Work
- Using a Home Renovation Timeline Template
- Frequently Asked Questions
Last Updated: October 19, 2026
Step 1: Define Your Renovation Goals and Project Scope
A renovation timeline maps every task to a start date, finish date, and responsible trade. At Timeless General Contracting, we build one before a single wall comes down, a schedule you can see is a schedule you can manage.
Start with the goal, not the room: more space, better energy performance, an aging kitchen, or a layout that no longer fits how you live.
Then write the scope down in plain language:
- Rooms included, and rooms explicitly excluded
- Structural changes: walls removed, beams added, openings cut
- Mechanical work: electrical, plumbing, heating and ventilation
- Finishes: flooring, cabinets, fixtures, paint
Energy-efficiency upgrades and structural work carry long lead times and inspections, so scope them from day one.
Step 2: Set a Realistic Budget and Cost Estimate
The budget and schedule are the same document: every line item buys materials, and every material has a delivery date. Treat the estimate as a procurement plan, not a wish list.
Build the estimate in three parts, and assign each part to a phase in your schedule:
- Hard costs: materials, fixtures, appliances, labour by trade
- Soft costs: design, permits, engineering, inspections
- Contingency: a buffer for surprises inside walls
Contingency is not optional. Older homes hide knob-and-tube wiring, undersized framing, and water damage, when you open a wall, you find out.
Pricing depends on scope, selections, and site conditions, so we quote each job individually.
Tie every budget line to a decision deadline
The estimate only controls the schedule if each line has an owner and a date. For each major cost line, record:
- Who decides (homeowner, designer, contractor)
- Decision deadline (the date after which the choice locks)
- Procurement lead time (how long from approval to delivery on site)
- Payment trigger (deposit, delivery, installation, inspection)
A late cabinet decision pushes the deposit, ship date, install window, then the countertop template. One missed deadline can move completion by weeks, so put those deadlines in the same calendar as construction tasks.
Budget the schedule, not just the materials
Some costs are schedule-driven: temporary accommodation, storage, utility shutoffs, and site protection all scale with duration. Build them in as per-week or per-month lines so a schedule slip shows up as a visible budget variance.
Review the budget against the schedule weekly
A budget review only at the start and end cannot catch drift. Weekly, compare planned, actual, and committed spend (purchase orders issued but not yet invoiced) per active phase. Committed spend is the early-warning number, it shows where the schedule is about to pull money forward.
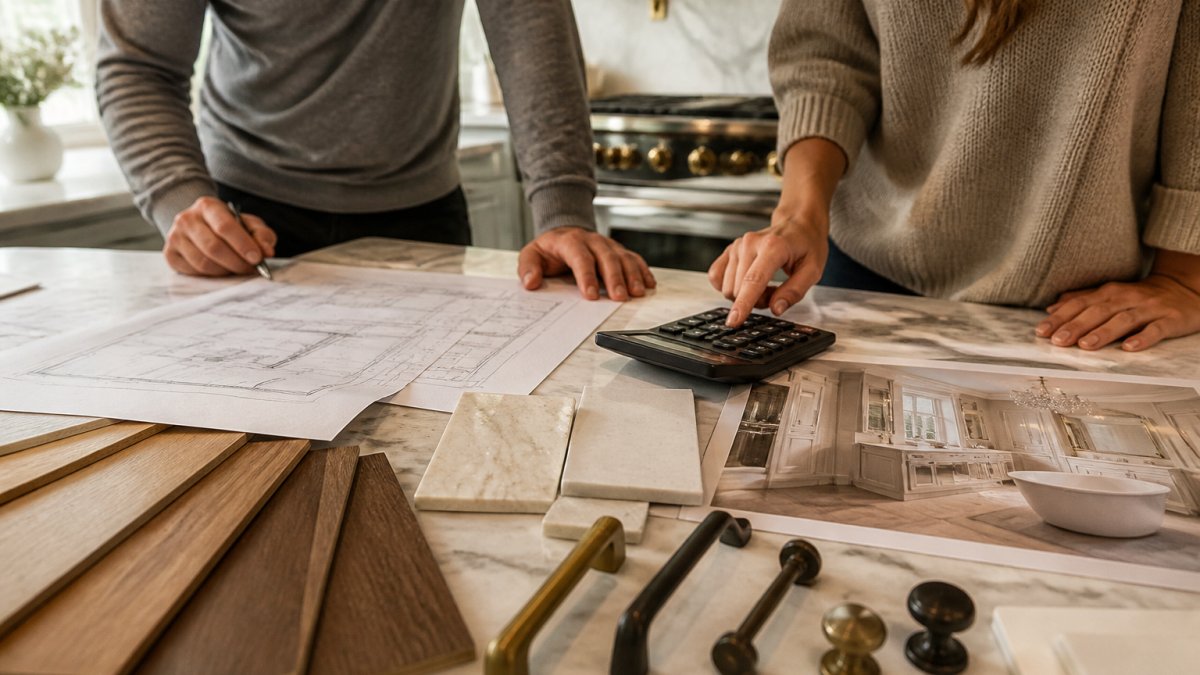
Step 3: Plan the Design and Select Materials
Design decisions drive the schedule more than any other factor; every undecided finish becomes a stall.
Work through selections in the order they get installed:
- Cabinets and countertops first, since they carry the longest lead times
- Flooring and tile next
- Fixtures, lighting, and hardware after
- Paint and trim last, because they are quick to choose
Sign a design agreement before construction, spelling out who supplies what, when drawings are final, and each selection deadline.
Here is the part most guides miss: long-lead materials set your start date, not your contractor's calendar. If cabinetry takes ten weeks to arrive, ordering it late means the kitchen sits empty while trades wait.
Step 4: Research and Hire Contractors and Professionals
Hire the renovation team before finalizing dates, availability decides when work can start.
A complete team usually includes a general contractor, a designer, a structural engineer if walls are moving, and licensed electrical and plumbing trades.
In Canada, Red Seal certification is a national endorsement earned through apprenticeship and examination; verify a trade's standing through the provincial regulator.
Questions worth asking every contractor:
- Can you show your licence and certification numbers?
- Who supervises the site day to day?
- How do you communicate schedule changes?
- What is your process for change orders?
A contractor who tracks the build in a shared portal gives you a live schedule instead of a promise.
Step 5: Understand Permits, Approvals, and Building Codes
Permits are a fixed schedule step, not paperwork you squeeze in, apply early and plan for review time.
Most municipalities require permits for structural work, additions, plumbing, electrical, and major alterations.
Build these into your plan:
- Permit application and municipal review
- Inspection windows after framing and rough-in
- Final inspection before occupancy
Your contractor should handle applications and book inspections before each stage closes.
Check your local municipal requirements for the specific permits your project needs, since rules vary by area and by scope of work.
Step 6: Break the Renovation Into Phases and Sequence Tasks
Phases turn a big project into manageable blocks with clear milestones; each ends with a decision or inspection, and nothing moves forward until it clears.
A typical high-performance renovation runs through these phases:
- Design and permitting: drawings, selections, approvals
- Site preparation and demolition: protection, tear-out, disposal
- Structural and framing: beams, walls, openings
- Rough-in: electrical, plumbing, HVAC behind the walls
- Insulation and air sealing: the energy-performance stage
- Drywall and finishing: board, tape, paint
- Installation: cabinets, fixtures, flooring, trim
- Final inspection and handover

Set verifiable milestones at the end of each phase, "rough-in inspection passed" or "cabinets delivered." If one slips, you know exactly which phase to recover.
Duration ranges by project type
Use these ranges as planning starting points, not quotes. They assume a typical single-family home, straightforward scope, and no major structural surprises. Add time for older housing stock, complex structural work, and any phase touching a kitchen or bathroom the household still uses.
| Project type | Typical construction duration (after permits) | Dominant schedule risk |
|---|---|---|
| Bathroom remodel | 3-6 weeks | Tile and fixture lead times; waterproofing inspection |
| Kitchen remodel | 6-12 weeks | Cabinetry lead time; countertop template after cabinets set |
| Basement finish | 6-10 weeks | Egress and ceiling height; moisture remediation |
| Two-storey addition | 4-8 months | Structural engineering; foundation weather window |
| Whole-home renovation | 6-12 months | Permit sequencing; phased occupancy decisions |
These ranges exclude design and permitting, which can add weeks to months depending on municipal review and drawing completeness. Construction is usually the most predictable phase and pre-construction the least, build buffer there first.
Map dependencies between trades
The sequence table below shows what must finish before the next stage starts. The right-hand column is the dependency that most often causes a slip.
| Stage | What Happens | What Must Finish First | Common dependency failure |
|---|---|---|---|
| Demolition | Tear-out and disposal | Permits approved | Hazardous material discovered after tear-out begins |
| Framing | Structural changes | Demolition complete | Engineered drawings not stamped before framing starts |
| Rough-in | Electrical, plumbing, HVAC | Framing inspected | Trades working in the same wall without a set order |
| Insulation | Air sealing and insulation | Rough-in inspected | Air sealing skipped, then re-opened after drywall |
| Drywall | Board, tape, sand | Insulation passed | Board hung before inspection sign-off |
| Finishes | Paint, cabinets, flooring | Drywall complete | Cabinets ordered before field measurements confirmed |
| Final | Fixtures, trim, inspection | All finishes installed | Missing fixture parts hold the final inspection |
This is the critical path: the chain of tasks where any delay pushes the completion date.
Trade coordination follows the same logic. The electrician, plumber, and HVAC crew all work in the same walls, so they sequence around each other, get that order wrong and one trade undoes another's work.
Recover the schedule when a phase slips
A slip is normal; an unmanaged slip turns a two-week delay into a two-month one. When a milestone is missed, act within days:
- Confirm the new finish date in writing from the trade responsible.
- Trace the downstream effect through the dependency table to find the first task that actually moves.
- Choose a recovery action: add labour, resequence off-critical-path work into the gap, or draw on schedule buffer.
- Re-baseline the completion date and tell the homeowner the same day, with the reason and recovery action.
- Book the next inspection before recovery work starts, so the inspection slot does not become the next bottleneck.
Permit delays, unavailable materials, weather, failed inspections, and contractor rescheduling all follow the same logic. Track buffer as a number, weeks remaining, so you know when recovery options are running out.
The Correct Order of Renovation Work
The order of renovation work follows one rule: nothing gets covered until everything behind it is finished and inspected.
Here is the sequence that keeps a project moving:
| Stage | What Happens | What Must Finish First |
|---|---|---|
| Demolition | Tear-out and disposal | Permits approved |
| Framing | Structural changes | Demolition complete |
| Rough-in | Electrical, plumbing, HVAC | Framing inspected |
| Insulation | Air sealing and insulation | Rough-in inspected |
| Drywall | Board, tape, sand | Insulation passed |
| Finishes | Paint, cabinets, flooring | Drywall complete |
| Final | Fixtures, trim, inspection | All finishes installed |
This is the critical path: the chain of tasks where any delay pushes the completion date. Framing sits on the critical path.
Trade coordination follows the same logic. The electrician, plumber, and HVAC crew all work in the same walls, so they sequence around each other.
Using a Home Renovation Timeline Template
A home renovation timeline template gives you a reusable structure: plan once, track weekly.
Build yours with these fields:
- Task name and phase
- Trade responsible
- Planned start and finish dates
- Duration in days
- Dependencies (what must finish first)
Then follow a simple weekly routine:
- Update actual progress against planned dates
- Flag any task running behind
- Check which downstream tasks it affects
- Decide the recovery action: add crew, resequence, or use buffer
- Confirm the next inspection is booked
A home renovation checklist works alongside the template: the checklist covers decisions and inspections, the template covers dates and dependencies. Together they give you a project schedule you can actually track.
Frequently Asked Questions
What is the typical timeline for a home renovation project?
A typical home renovation timeline varies by scope. A bathroom remodel often takes 4 to 8 weeks, a kitchen 8 to 16 weeks, and a full-home renovation 6 to 12 months. Factors like permit approvals, material lead times, and trade availability can extend these ranges. Creating a detailed schedule with buffers helps you set realistic expectations and avoid surprises.
How do you create a realistic home renovation schedule?
Start by defining your project scope and breaking it into phases. Sequence tasks in the correct order of renovation work, from demolition to final finishes. Assign duration estimates to each task, add a buffer for delays, and account for permit and material lead times. Use a home renovation timeline template to track progress and adjust as needed.
How much extra time should you allow for delays?
Build in a buffer for your total project duration. This accounts for common delays like permit approvals, material backorders, or weather. A buffer also gives you room to handle unexpected issues without derailing your completion date.
What should a home renovation timeline template include?
A useful template should list all renovation phases, tasks, start and end dates, responsible parties, dependencies, and milestones. Include columns for permit deadlines, material order dates, and inspection schedules. Add a tracking field for actual versus planned progress so you can spot delays early and adjust your schedule.
A renovation timeline only works when someone tracks it, updates it, and responds the moment a task slips. That is the part most homeowners underestimate. Timeless General Contracting brings 25 years of experience and Red Seal certification to every project, and our real-time Client Project Portal shows you exactly where your build stands, on your phone, whenever you want to check. Get started with Timeless General Contracting and build your renovation on a schedule you can see.