 how-to
How to Monitor Home Construction Progress
Table of Contents
- Why Monitoring Home Construction Progress Matters
- Understanding Home Construction Timeline Expectations
- Establish a Real-Time Monitoring System
- What Is a Red Seal Contractor and Why It Matters
- Conduct Regular Site Inspections Using a Checklist
- Track Milestones, Schedules, and Payment Progress
- Common Mistakes to Avoid When Monitoring Your Build
- Frequently Asked Questions
Last Updated: September 28, 2026
Why Monitoring Home Construction Progress Matters
Building a custom home is one of the largest investments you'll ever make. Without proper oversight, small issues become expensive problems. Monitoring your build protects your investment by catching defects early, ensuring work matches your contract, and keeping your contractor accountable.
Understanding Home Construction Timeline Expectations
Custom home builds typically take 12 to 18 months from groundbreaking to final walk-through, varying by complexity and weather. The timeline breaks into distinct phases:
- Site prep and foundation: 2-4 weeks
- Framing: 4-6 weeks
- Rough-in (electrical, plumbing, HVAC): 3-4 weeks
- Insulation and drywall: 3-4 weeks
- Interior finishing: 6-8 weeks
- Final inspections and punch-list: 2-3 weeks
Weather delays and material shortages are normal and can push schedules back by weeks. Knowing this prevents panic when your contractor explains a delay.
Red Seal certified contractors have passed rigorous national exams and meet strict standards across Canada, managing schedules realistically and communicating delays early.
Establish a Real-Time Monitoring System
The best monitoring approach combines digital tools with regular site visits to catch issues both remotely and in person.
Digital Project Portals and Mobile Apps
A digital project portal gives you real-time access to your build, tracking daily work logs, photos, schedule updates, and budget. Look for a mobile-friendly portal with notifications for new updates.
Timeless General Contracting uses a Client Project Portal that lets you monitor home construction progress from anywhere, storing all documentation in one place for easy access if disputes arise.
Jobsite Cameras and Visual Documentation
Install a weatherproof camera pointing at the main construction area to document progress visually, create dispute records, and deter theft. Position it to capture overall progress across the entire site. Store footage securely in cloud storage for backup.
What Is a Red Seal Contractor and Why It Matters
The Red Seal program is a national standard recognizing skilled trades workers across Canada. To earn Red Seal status, a contractor must complete a recognized apprenticeship, pass a comprehensive national exam, meet experience requirements, and maintain ongoing professional standards. This certification signals proven competence in building codes, project management, and legal requirements.
Timeless General Contracting holds Red Seal certification. This means we've met national standards for expertise and accountability. We understand how to monitor home construction progress at every phase. We document everything and keep you informed throughout your build.
Conduct Regular Site Inspections Using a Checklist
You should visit your construction site at least weekly. These visits let you see work firsthand and catch issues early. Bring a checklist so you don't miss anything.
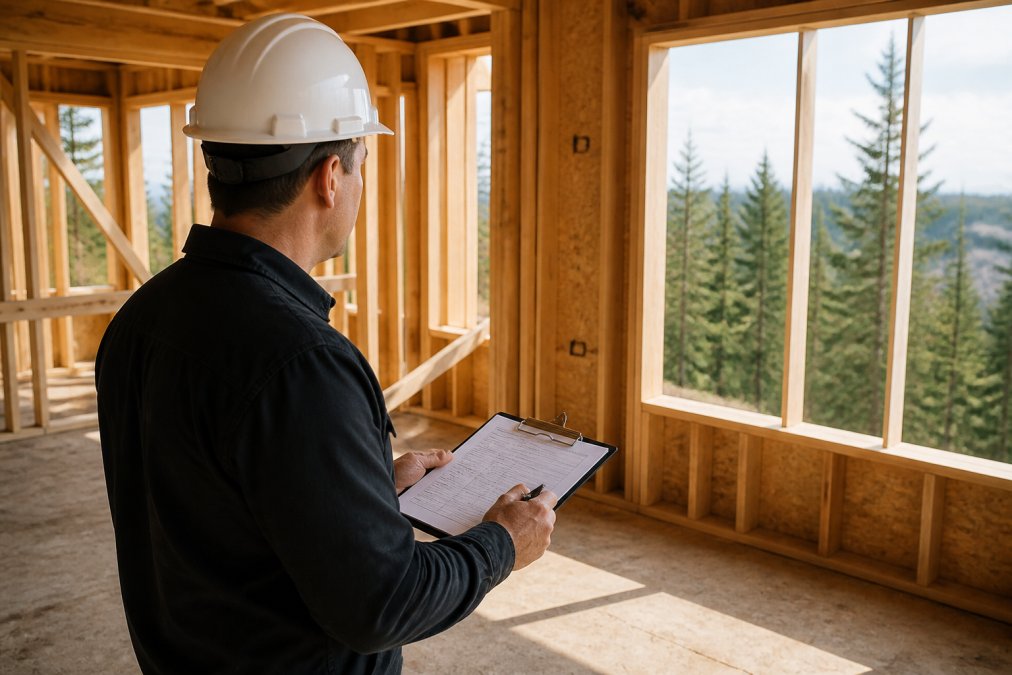
Essential Items to Inspect at Each Phase
Create a checklist for each construction phase. Your checklist should match what work is happening that week.
Foundation phase:
- Foundation is level and square
- Drainage around foundation is adequate
- No cracks in concrete
- Waterproofing is applied correctly
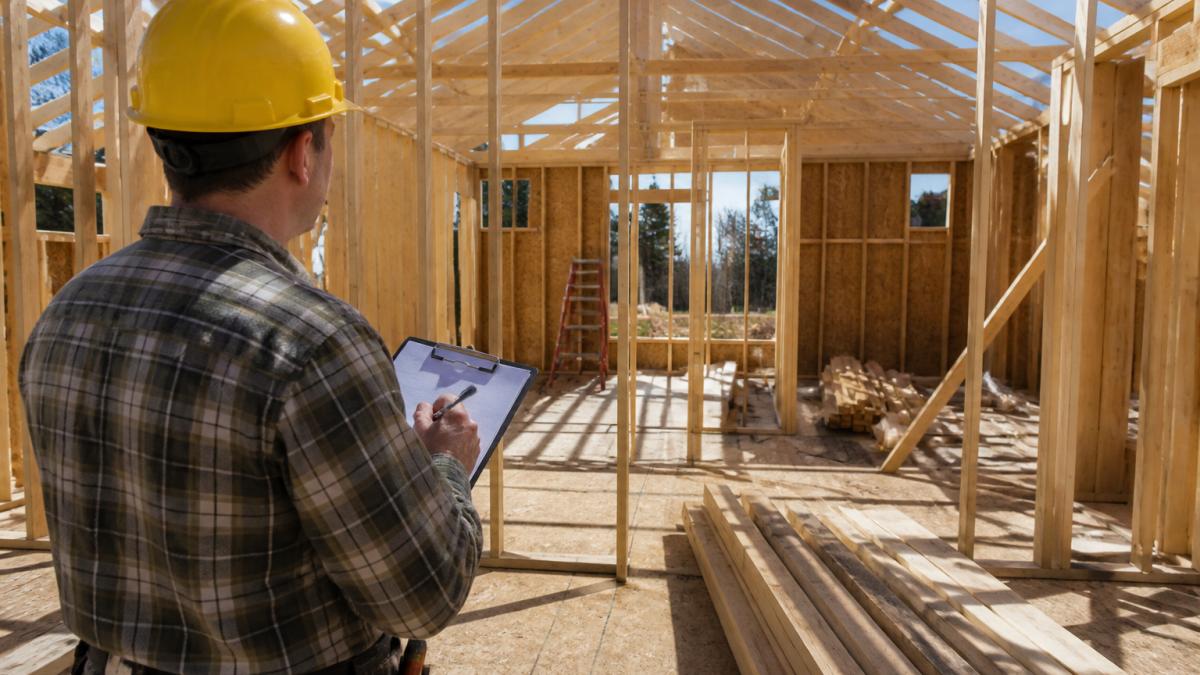
Framing phase:
- All walls are plumb (straight and vertical)
- Spacing between studs matches plans
- Headers are properly sized
- No visible damage to lumber
Rough-in phase:
- Electrical outlets are in correct locations
- Plumbing connections are secure
- HVAC ducts are properly sized and sealed
- No missing insulation in walls
Finishing phase:
- Drywall is smooth and properly taped
- Paint coverage is even
- Trim is straight and properly fitted
- Flooring is installed without gaps or damage
Take photos during each visit. Photograph problem areas and completed work. These photos create a visual timeline of your project.
Documenting Quality and Identifying Issues Early
When you find a problem, document it immediately. Write down:
- The location of the issue
- What the problem is
- When you discovered it
- Photos showing the defect
Send this documentation to your contractor within 24 hours. Ask for a written response explaining how they'll fix it. This creates a paper trail.
Don't wait until the final walk-through to raise concerns. Issues found early are cheaper to fix. A framing problem caught in week three costs far less than correcting it after drywall is installed.
Common issues homeowners find:
- Electrical outlets in wrong locations
- Plumbing rough-in not matching floor plan
- Framing not matching specifications
- Poor workmanship in finishing details
Your contractor should welcome your questions. If they resist your inspections or ignore documented problems, that's a red flag.
Track Milestones, Schedules, and Payment Progress
Your contract should tie payments to completed milestones. This protects both you and your contractor. But many homeowners pay based on contractor invoices without verifying that work is actually complete to specification. This is where disputes start.
Linking Physical Progress to Payment Milestones
Before you release any payment, conduct a walk-through and verify completion against your contract specifications. Create a pre-payment checklist for each milestone:
Foundation completion milestone (typically 15% of contract):
- Foundation is level and square (use a transit level or hire a surveyor to verify)
- Drainage tile is installed around perimeter
- Waterproofing membrane is applied to exterior walls
- Backfill is compacted in layers
- Grading slopes away from foundation
- All required municipal inspections have passed and are documented
Framing completion milestone (typically 15% of contract):
- All exterior walls are plumb and square (check with a level; walls should not deviate significantly)
- All interior walls are in place per floor plan
- Roof structure is complete and sheathed
- All window and door openings are properly sized and framed
- Building envelope is weather-tight (roof and exterior walls sealed)
- Structural inspection has passed
Rough-in completion milestone (typically 15% of contract):
- All electrical wiring is in place and rough-in inspection has passed
- All plumbing lines are installed and rough-in inspection has passed
- HVAC ductwork is installed and balanced
- All required rough-in inspections from your municipality are documented as passed
- No work should proceed to the next phase until rough-in inspections are signed off
Do not pay for a milestone until you have written confirmation from your municipality that required inspections have passed.
Preventing Overpayment Through Documentation
Contractors sometimes request payment for work that is 80% complete, arguing they need cash flow to buy materials for the next phase. Resist this practice. Your payment schedule exists to protect you.
If your contractor requests early payment, ask for:
- A detailed invoice listing exactly what work has been completed
- Photographic evidence dated and timestamped showing the completed work
- Proof of municipal inspection passage (inspection report from your local building department)
- A written explanation of why payment is needed before the milestone is fully complete
Common overpayment scenarios to watch for:
- Requesting payment when framing is complete but before structural inspection passes. Do not pay. The inspection might reveal structural defects that must be corrected at the contractor's expense.
- Requesting payment when rough-in is done but before inspections are scheduled. Do not pay. If inspections fail, corrections are the contractor's responsibility, not yours.
- Requesting payment for materials delivered to site but not yet installed. Do not pay. You are not financing the contractor's material costs. Payment is for completed, inspected work.
- Requesting lump-sum payment for multiple phases at once. Do not agree. Each phase should trigger a separate inspection and payment.
Tracking Budget Against Actual Spending
Maintain a running spreadsheet of all payments and change orders:
| Milestone | Contract Amount | Approved Changes | Total Authorized | Amount Paid | Remaining Budget |
|---|---|---|---|---|---|
| Foundation | $X | $0 | $X | $X | $0 |
| Framing | $X | $Y | $X+Y | Pending | $0 |
| Rough-in | $X | $0 | $X | Pending | $0 |
Change Orders and Budget Control
Change orders are requests to modify the original scope of work. They happen on almost every build. But they must be approved in writing before work begins, and they must include a cost.
When your contractor proposes a change order:
- Get it in writing. Do not approve changes verbally.
- Understand the cost. Ask for an itemized quote. If the change costs $2,000, you need to know that before approving it.
- Understand the schedule impact. Does this change delay your project? By how long?
- Decide if it's necessary. Some changes are essential (structural issues discovered during framing). Others are optional upgrades. Be clear about which category each change falls into.
- Update your budget. Add the change order cost to your running total. If you're already over budget, you may need to reduce scope elsewhere.
Common Mistakes to Avoid When Monitoring Your Build
Not visiting the site regularly. If you only visit monthly, you miss important details. Weekly visits keep you informed and show your contractor you're engaged.
Frequently Asked Questions
How often should I visit my construction site to monitor progress?
Site visits should align with your project schedule and major milestones. Weekly visits during active construction phases allow you to catch issues early, while monthly visits may suffice during slower periods. Coordinate with your contractor to avoid disrupting the workflow. Real-time digital monitoring through a project portal supplements in-person visits, so you can track daily progress without being on site constantly.
What is a Red Seal contractor and why should I hire one?
A Red Seal contractor has completed interprovincial apprenticeship training and passed a national standardized exam, demonstrating expertise in their trade. Red Seal certification ensures accountability, professional standards, and consistency across provinces. Hiring a Red Seal certified contractor provides confidence that your project meets recognized quality benchmarks and contractual obligations are understood and upheld.
What should I look for during a construction site inspection?
Use a checklist covering structural integrity, material quality, safety compliance, and workmanship at each phase. Inspect foundation curing, framing alignment, electrical and plumbing rough-ins, insulation installation, and final finishes. Document visible defects with photos and notes. Compare actual progress against your project timeline to identify schedule variance early. Request clarification on any work that doesn't match your specifications or contract.
How do I verify my contractor is staying on schedule?
Compare actual completion dates of construction phases against your agreed project timeline. A project portal with milestone tracking and daily logs provides real-time visibility. Request weekly or monthly progress reports that document completed work, upcoming tasks, and any delays. Ask your contractor to explain schedule variance promptly. As-built documentation and visual evidence through photos or jobsite cameras help confirm work is progressing as planned.